


3
Weaving

3
Mark Making

3
3D House
3
Watercolour Jigsaw

3
Mixed Media

3
Propaganda Posters

3
Doodle Bugs

4
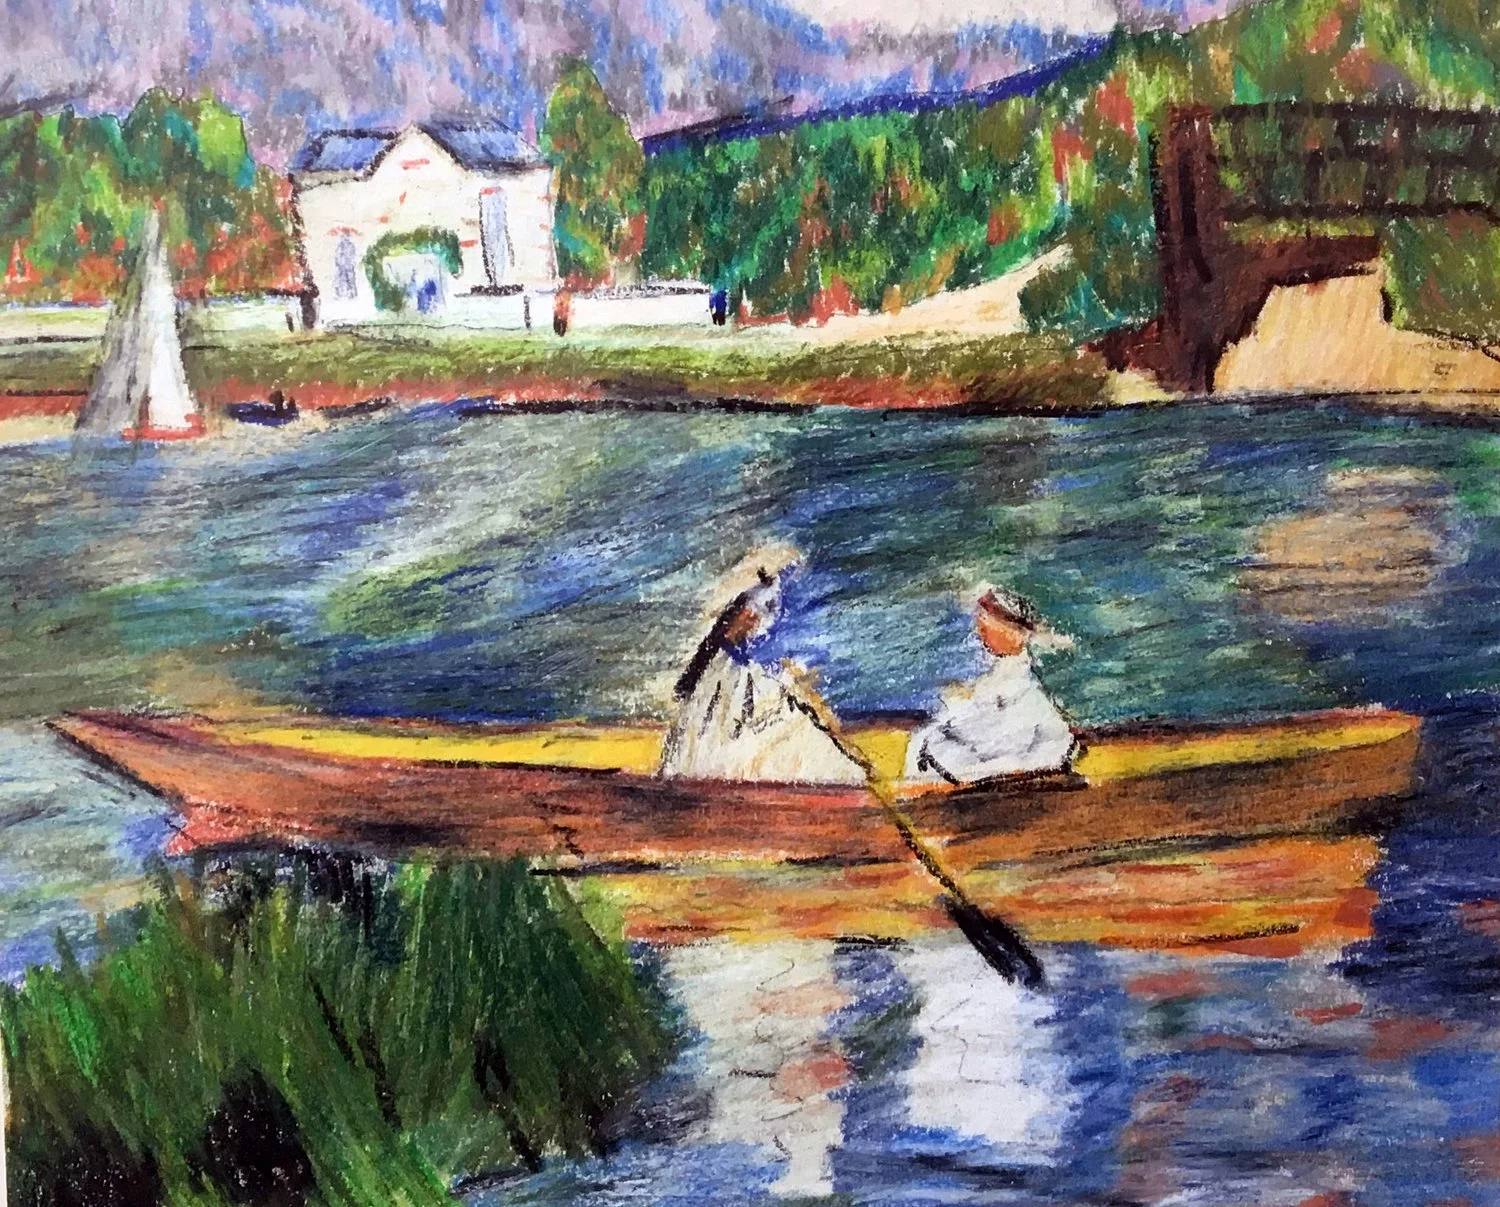
Watercolour Pencils

3
Topography

2
Stuffed Felt Toys

2
Observational Drawings

3
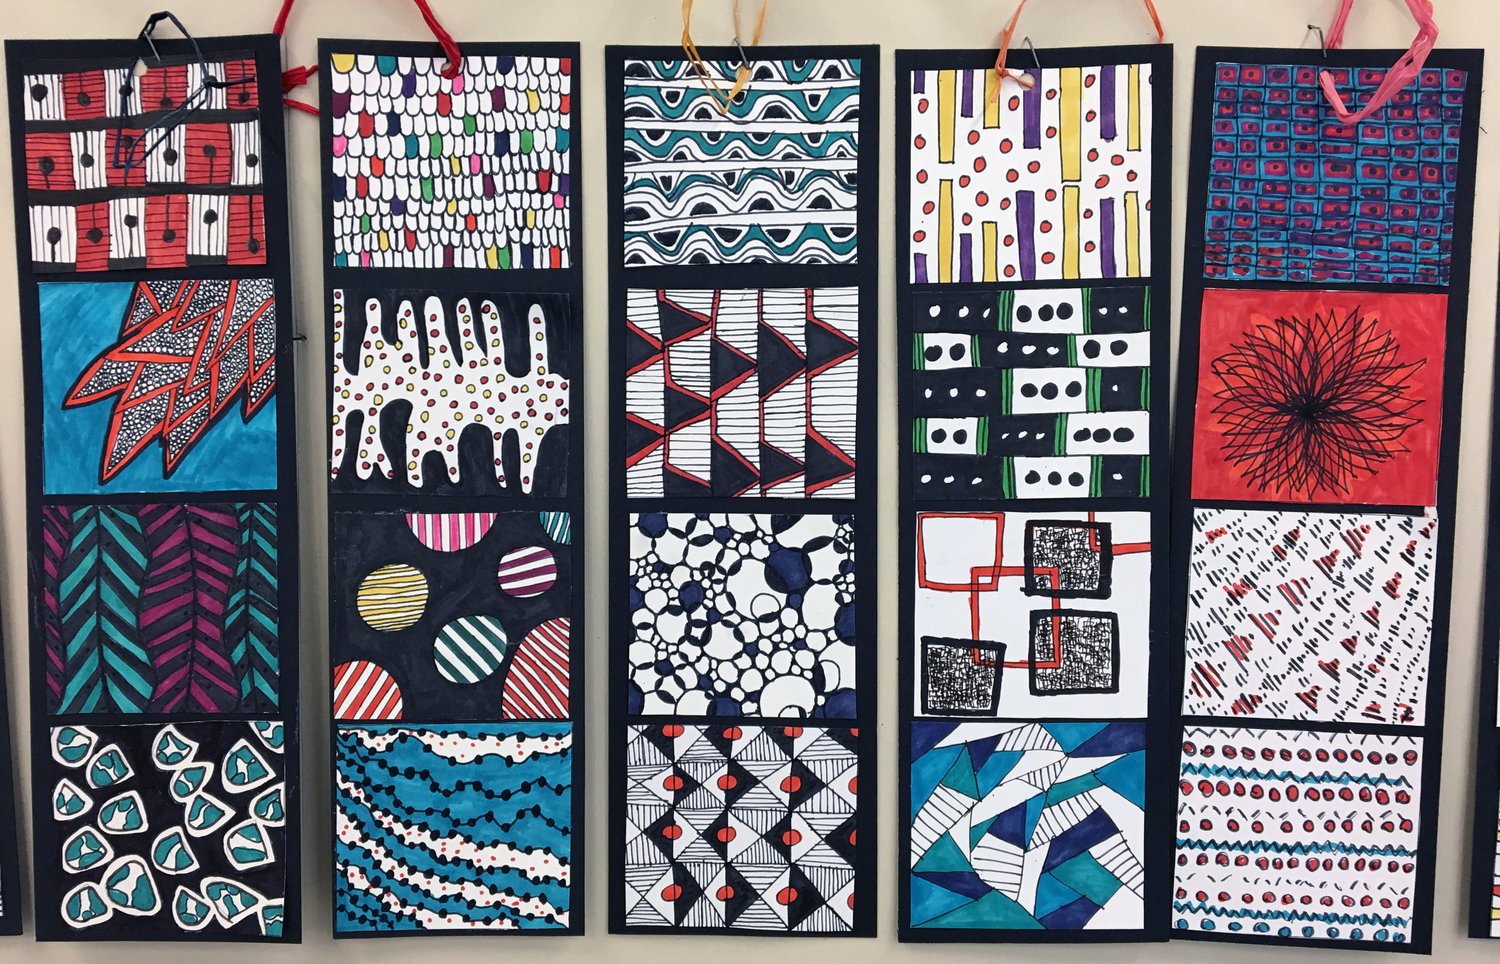
Repeated Patterns

4
Celebrity Portraits

3
Matisse Cut-outs

4
Colour Study Jigsaw

2
3D Cactus

3
Foam Board Printing

2
Watercolours & Washi Tape

3
Clay Tiles
3
Old Maps

3
Tonal Collage

4
Spin Art

3
Futuristic Cities

4
Sea Creatures

2
Stained Glass Windows

5
Natural Form

3
Quilling

1
Egyptian Portraits

4
Grayson Perry Pots
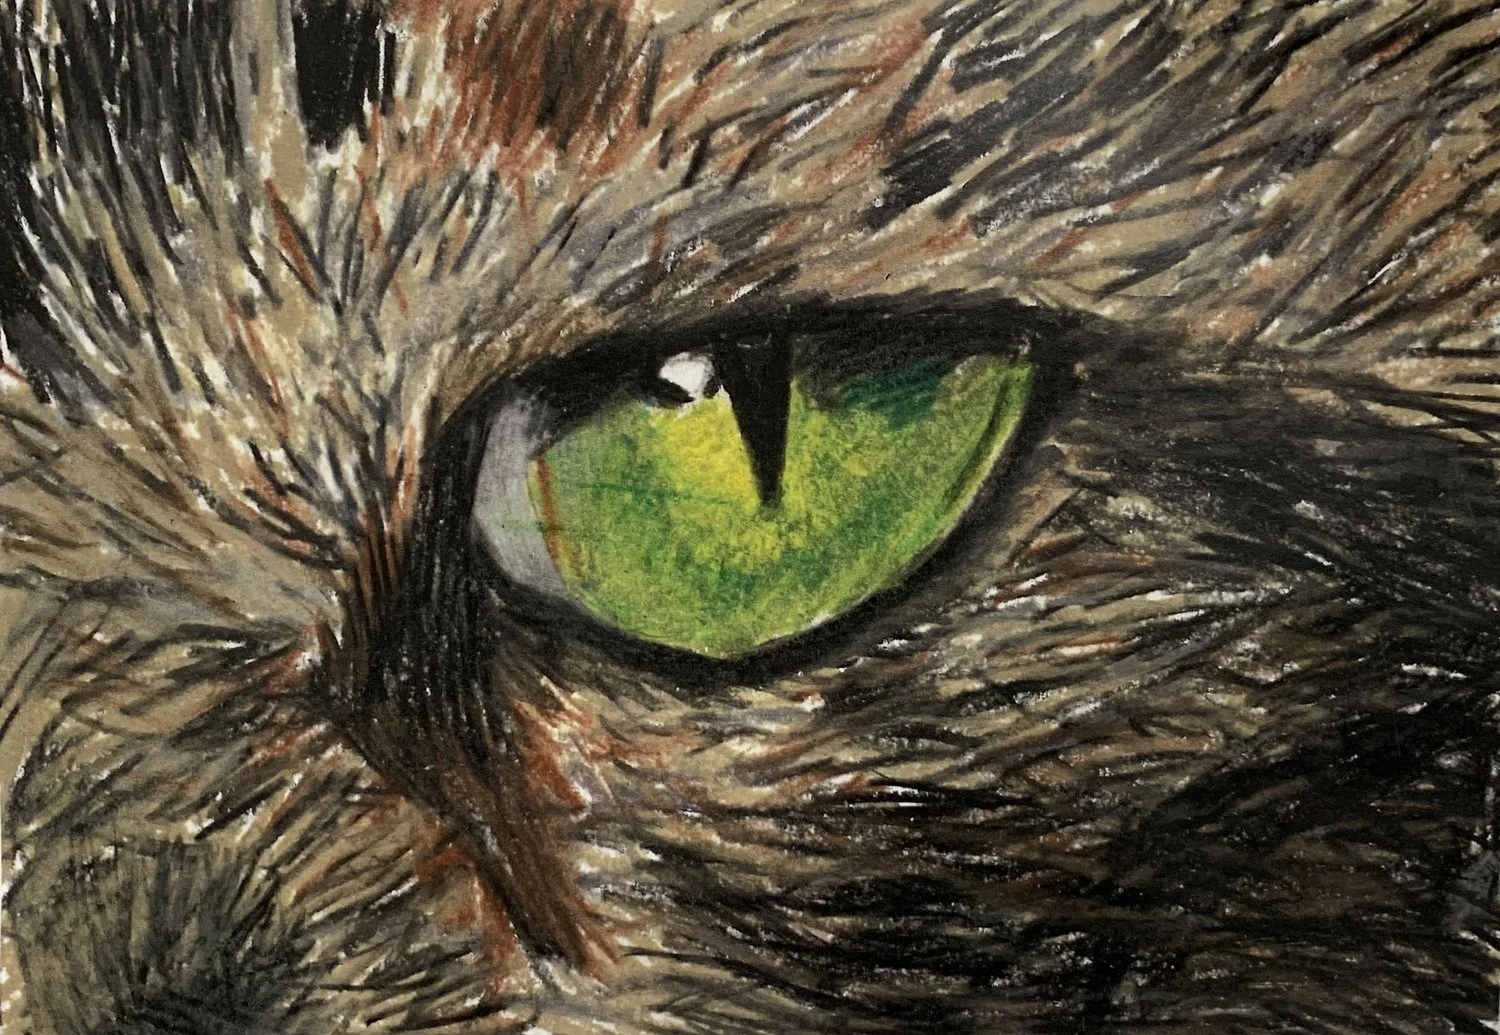
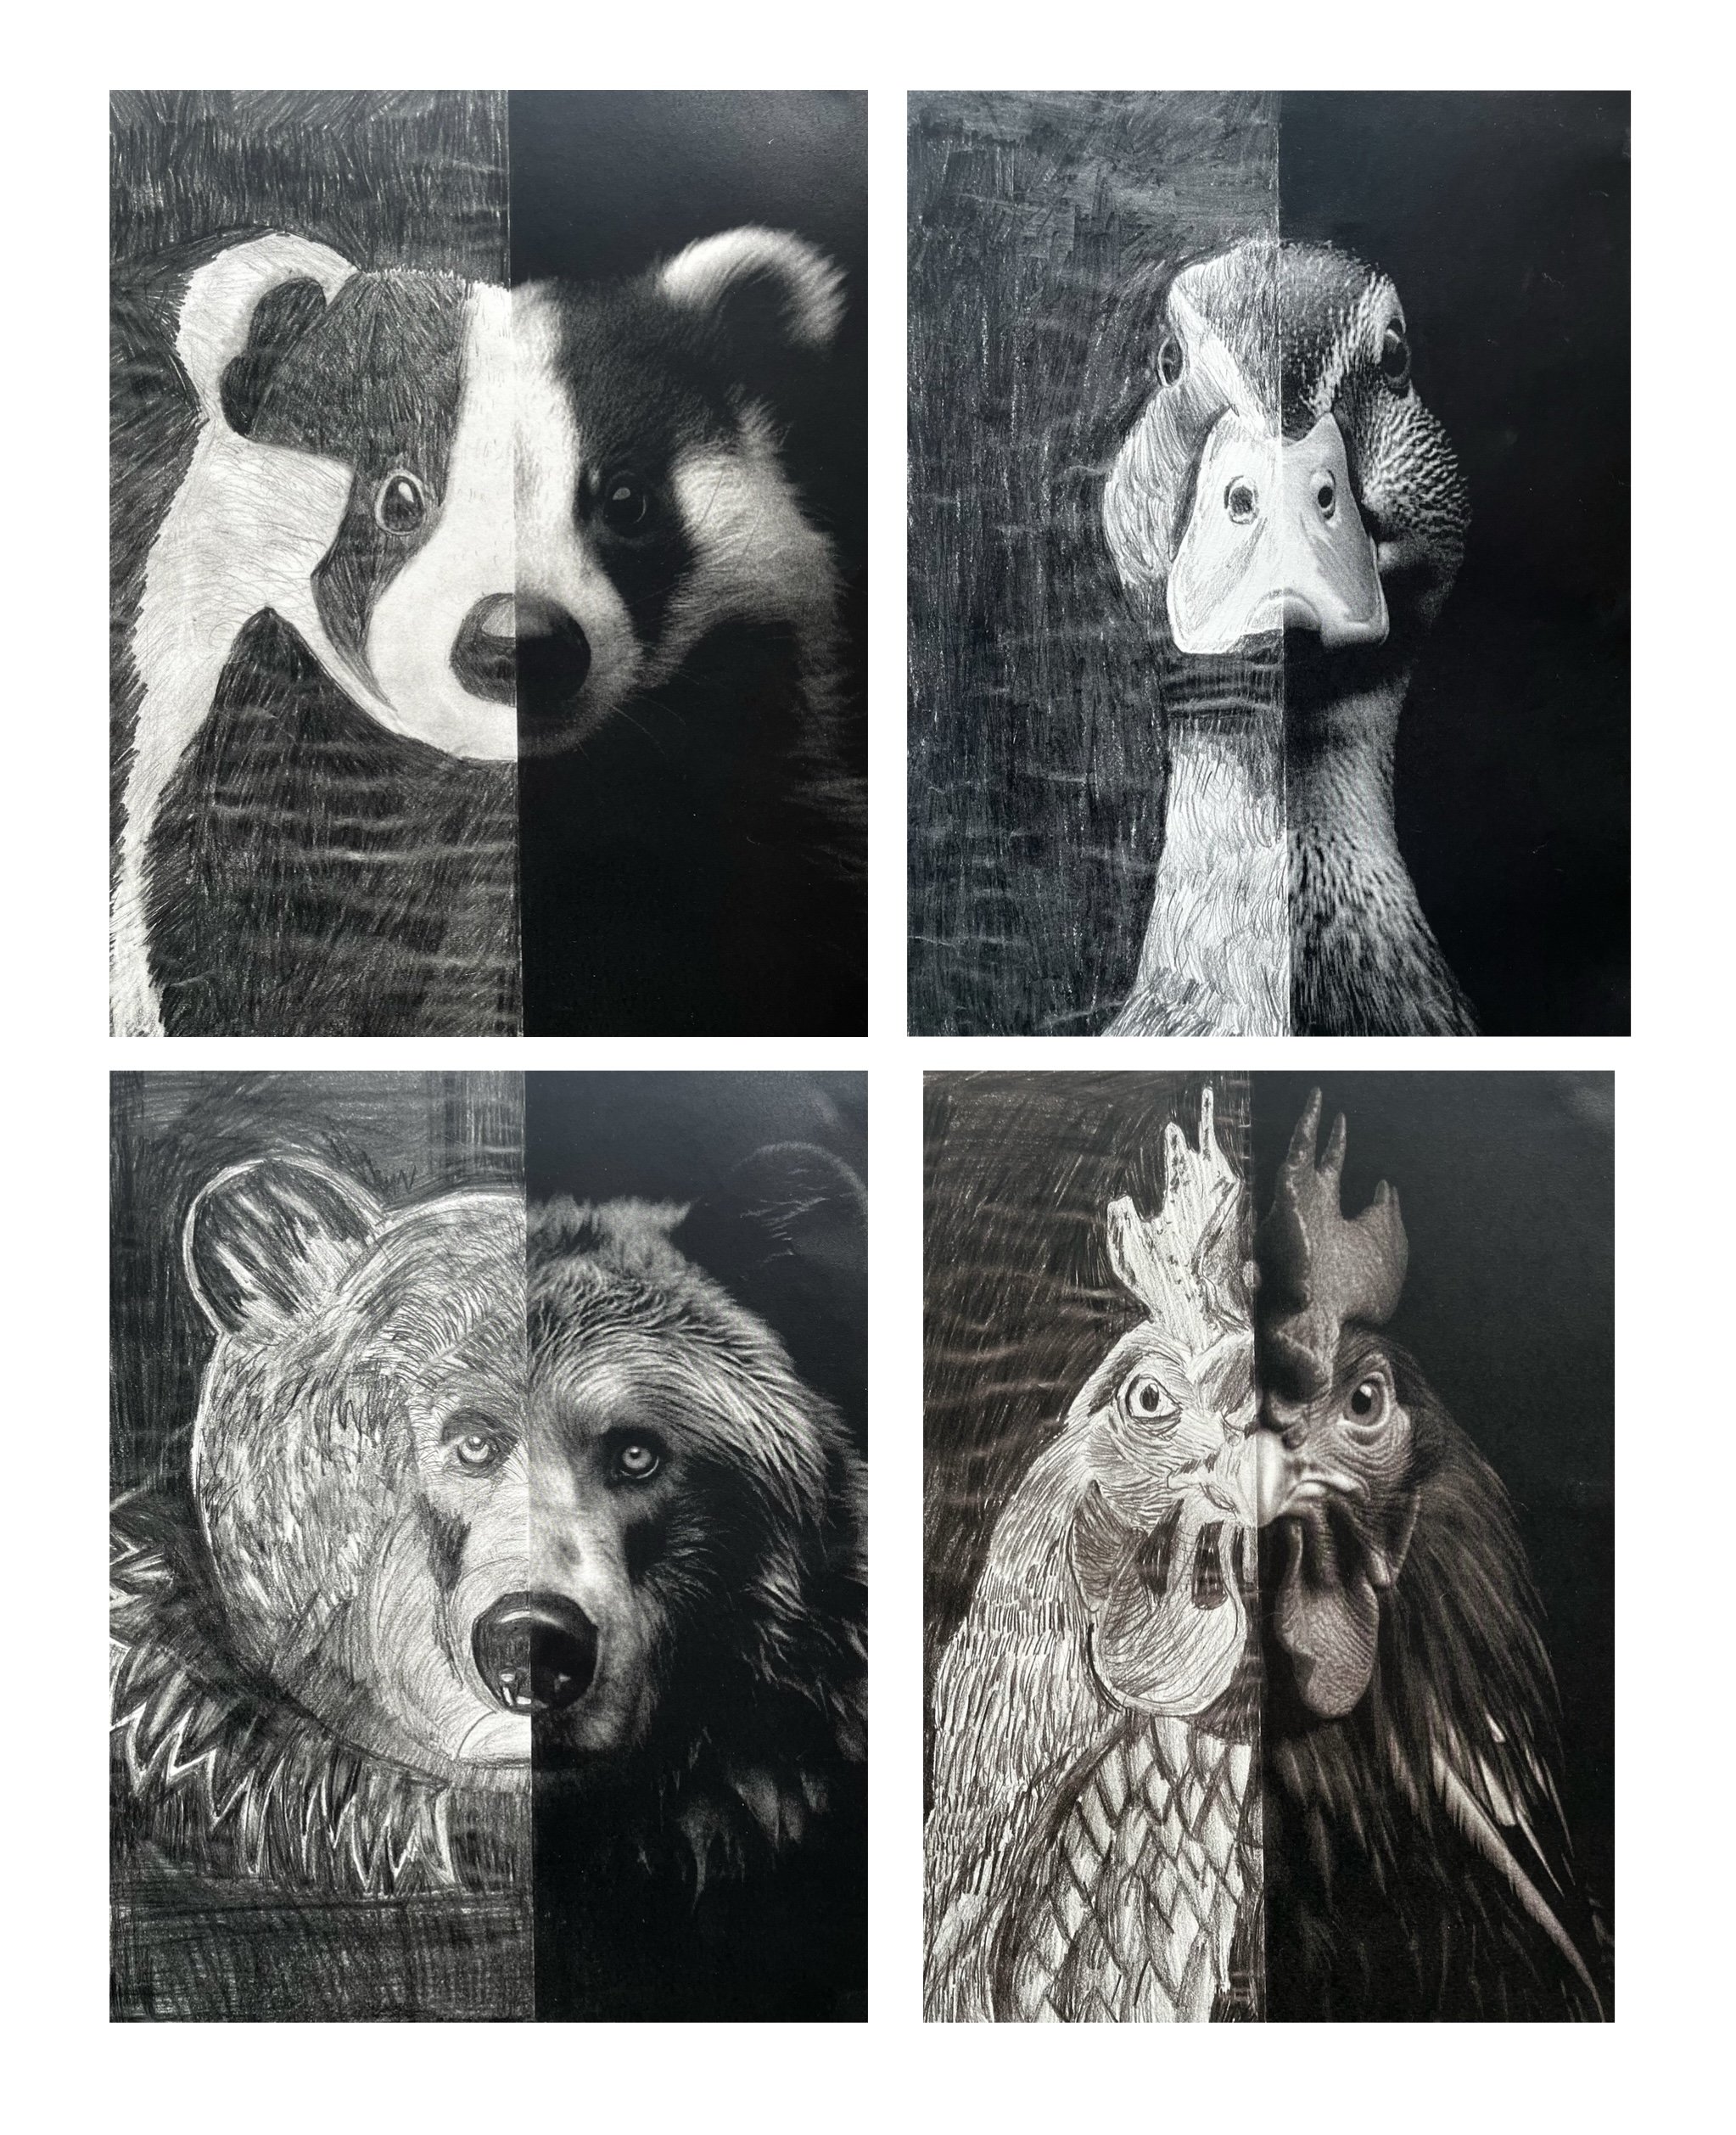
4
Animal Eyes

2
Solar System

3
Batiks

2
Mosaic Tiles

3
Rain Stick

2
Weaved Bracelets

3
Ink Tree Creatures

3
Flower Collage

2
Ice Cream Sundae

3
Zentangle Animals
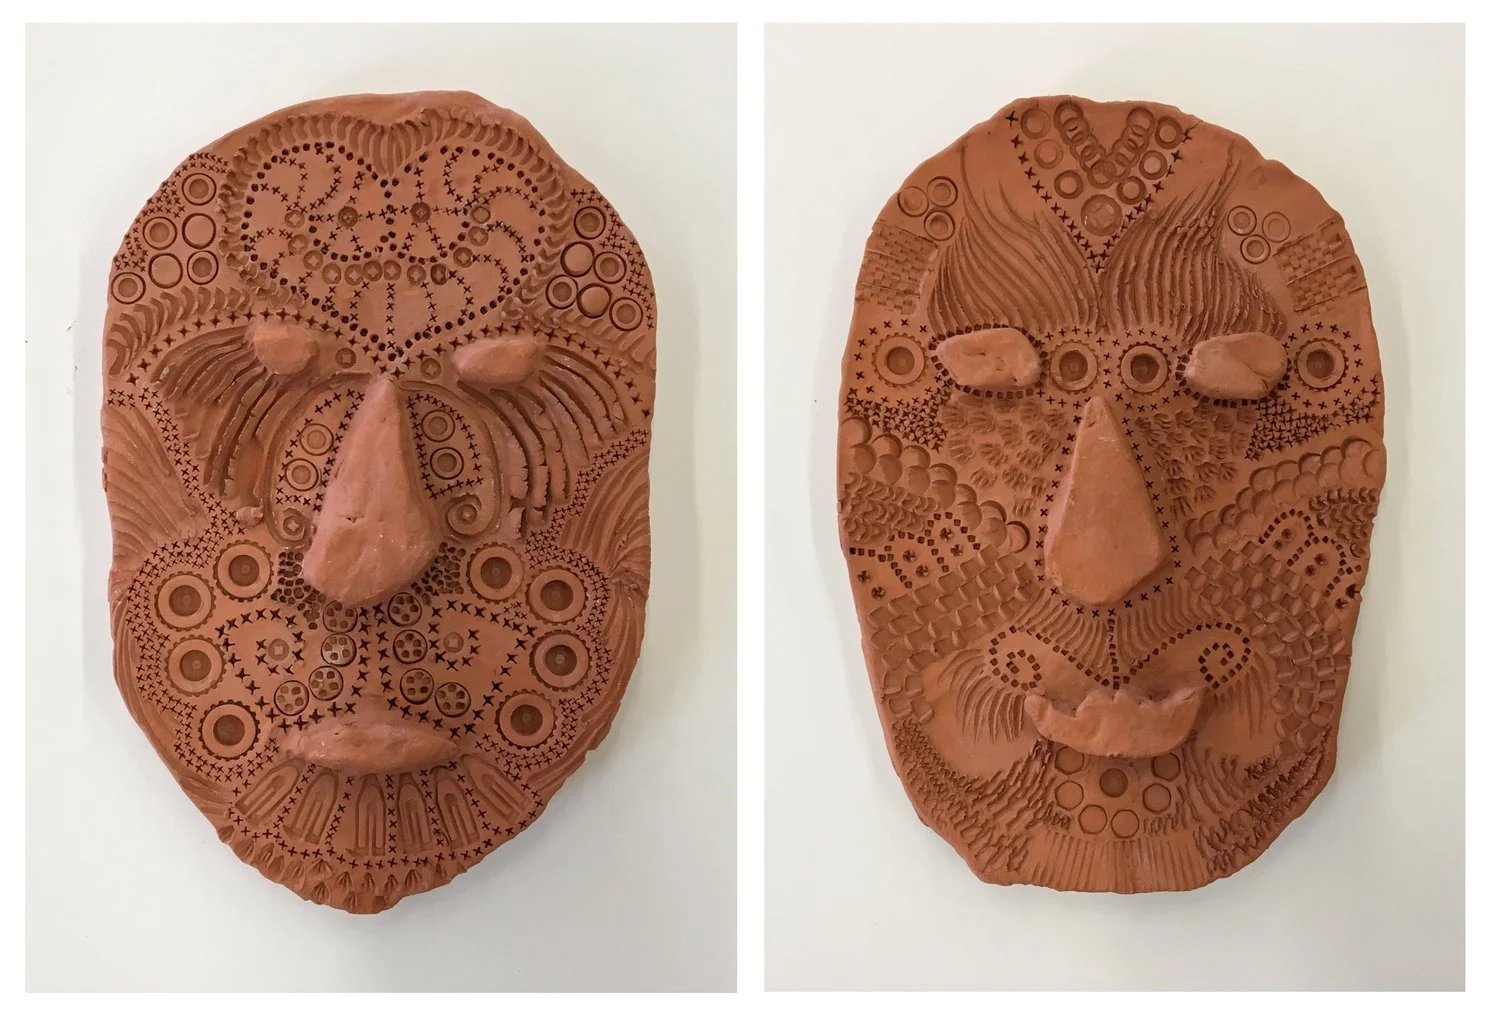
2
Clay Masks

3
Pirate Ships

2
Notans

3
Aborigonal Art

6
Oil Pastel Sweet Treats

2
Doughnuts

6
Book Studies

2
Graffiti

4
Tissue Paper Collage

2
Seamless Cube
1
Animal Portraits

2
Rememberance Wreath
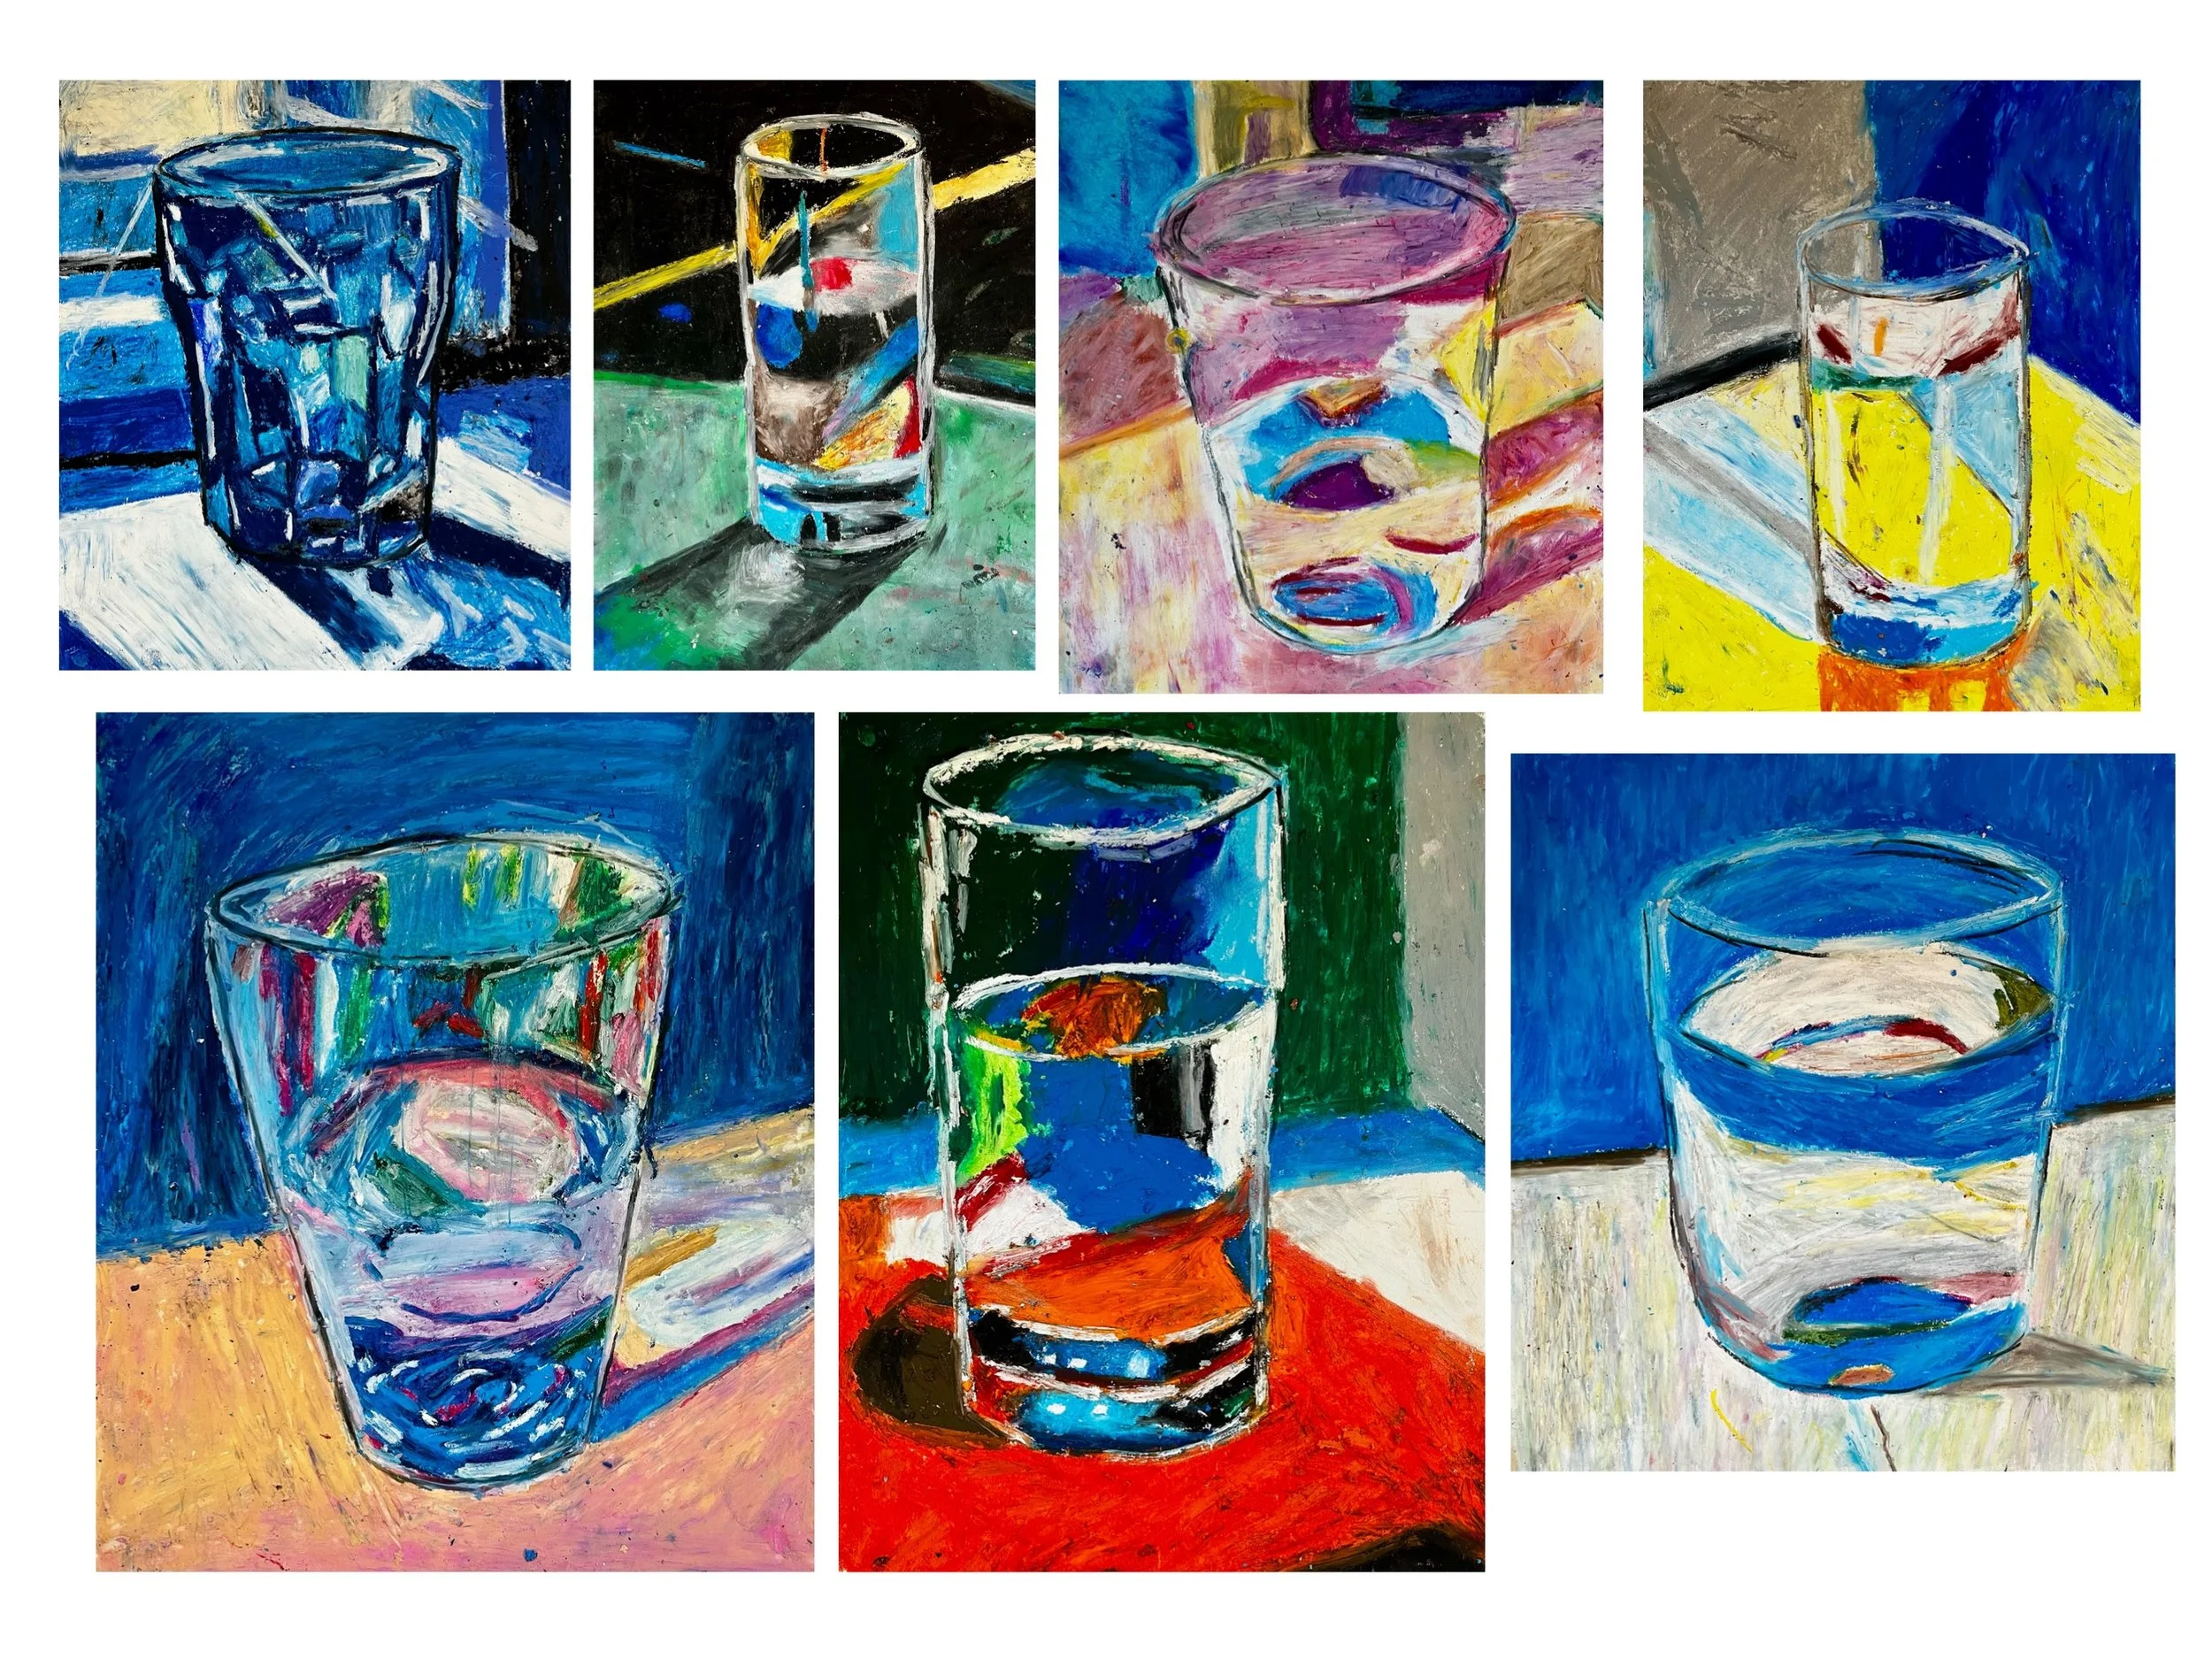
6
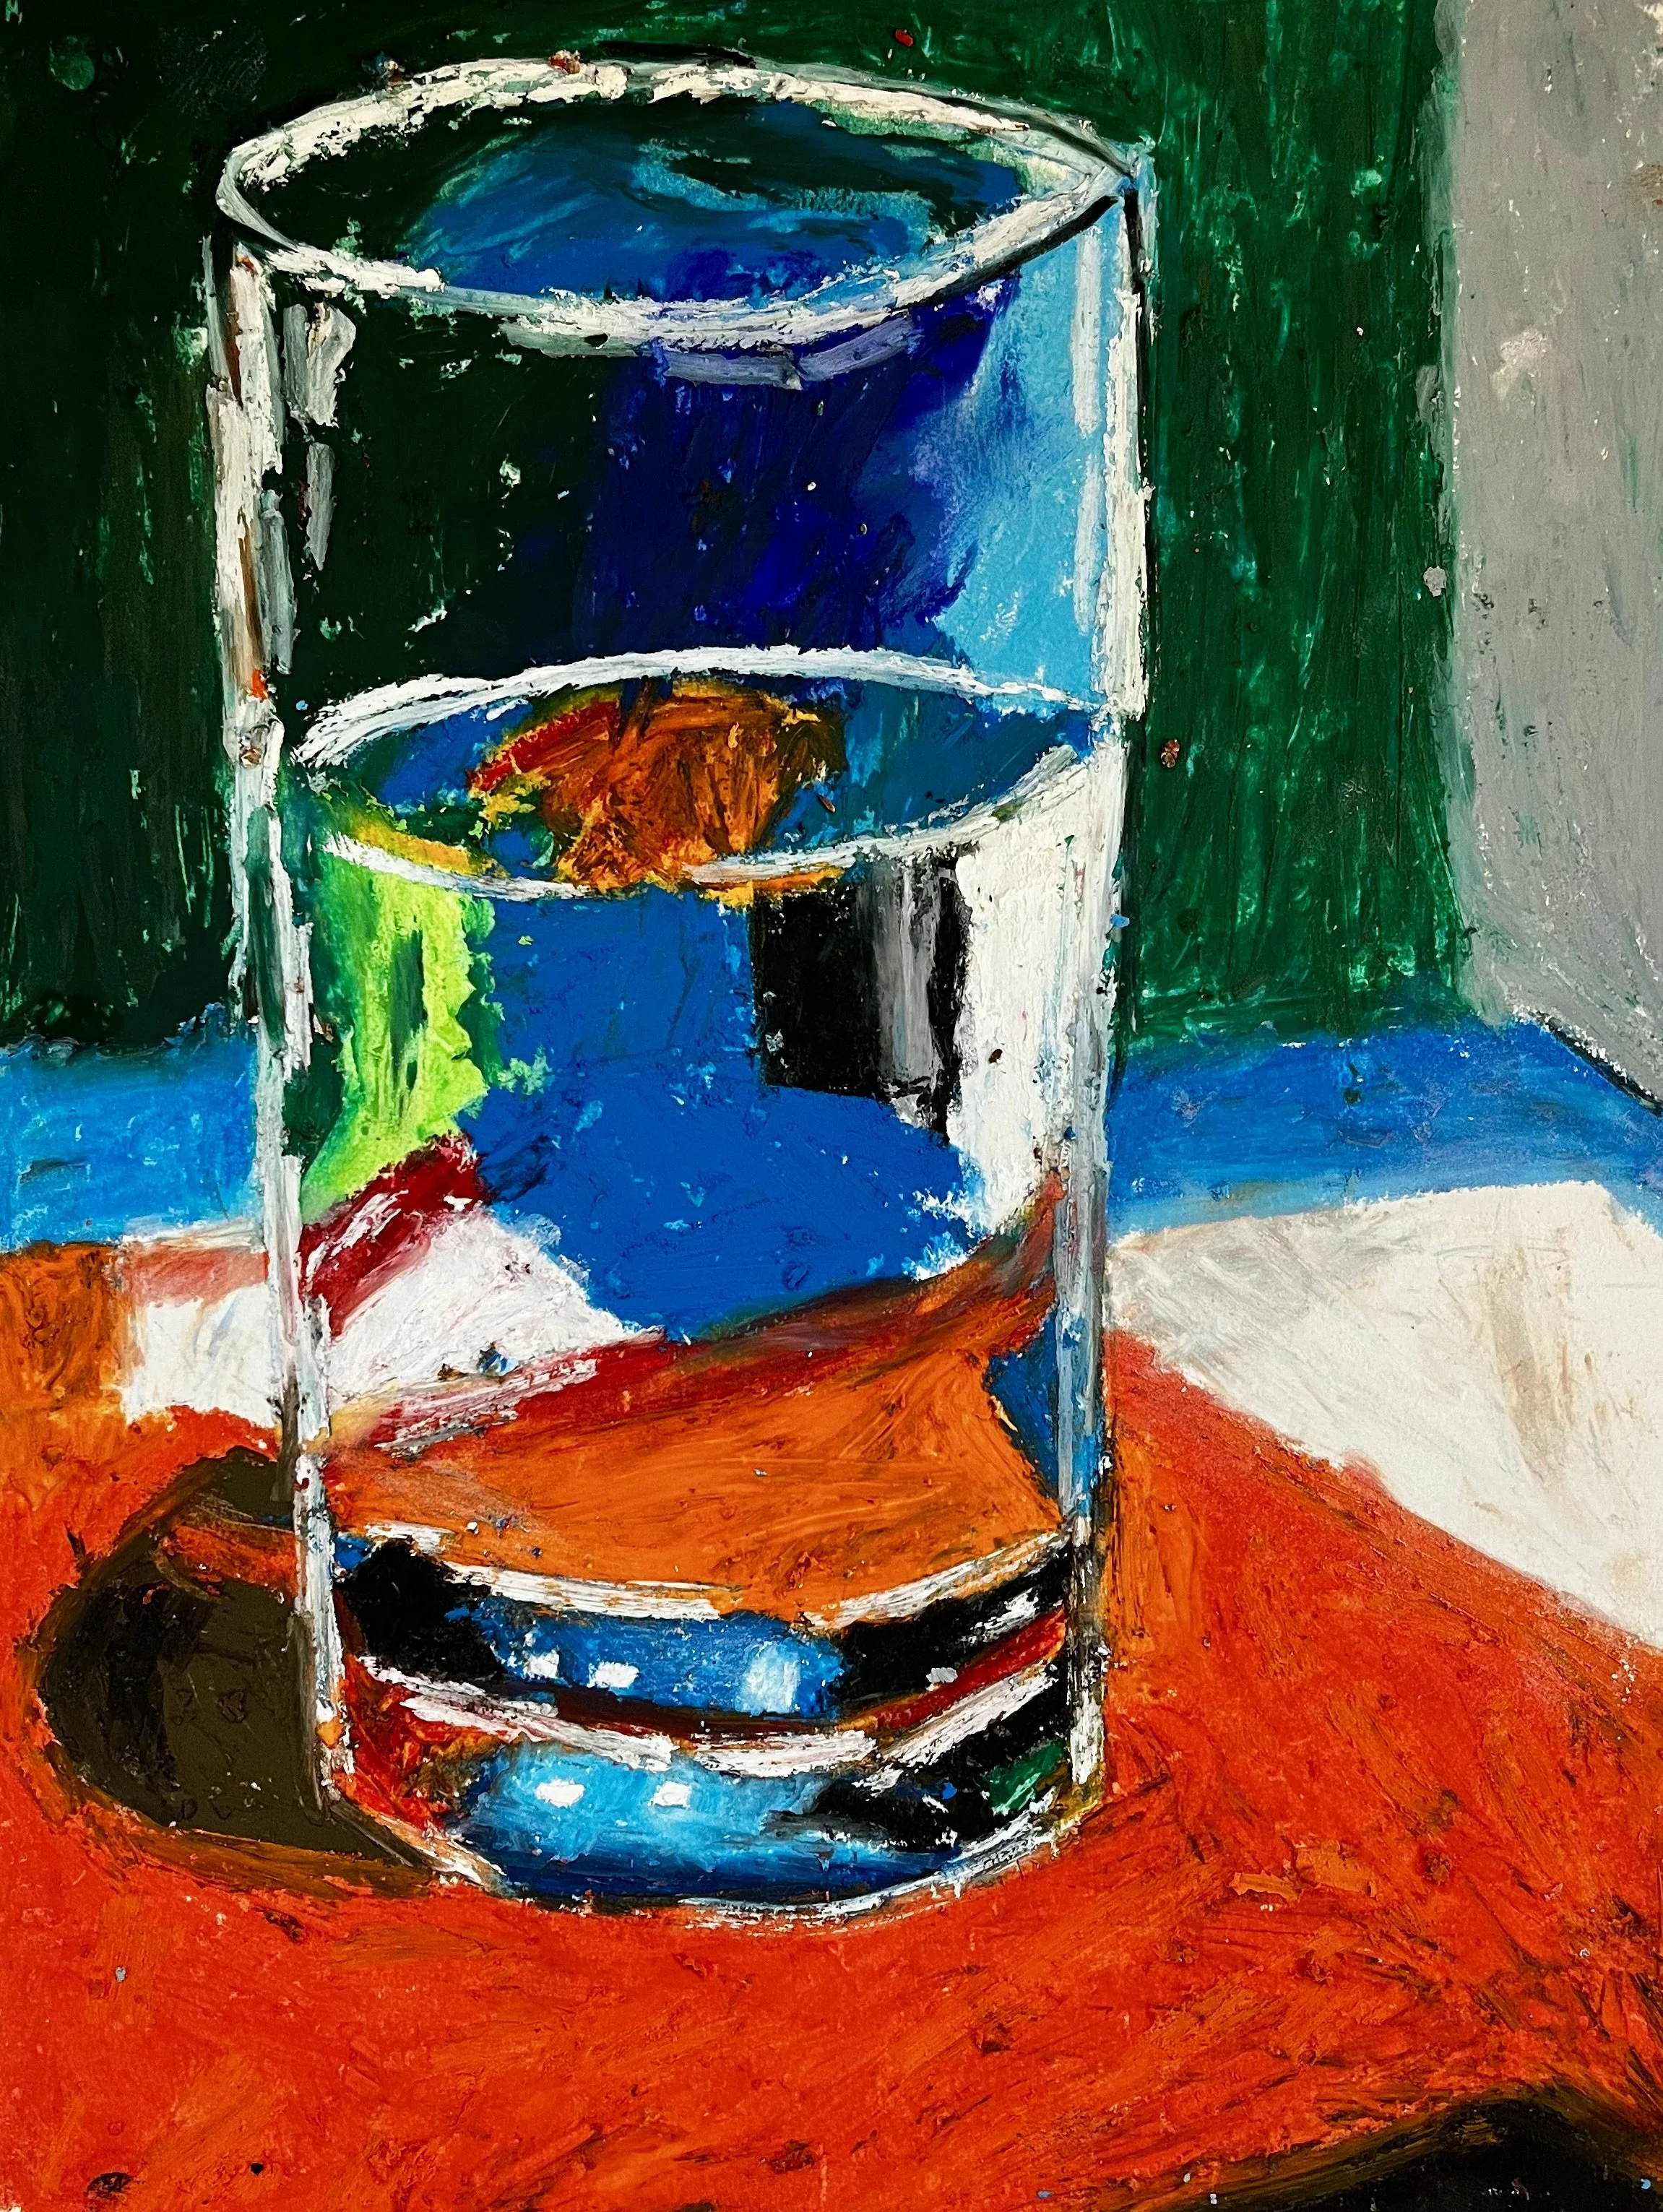
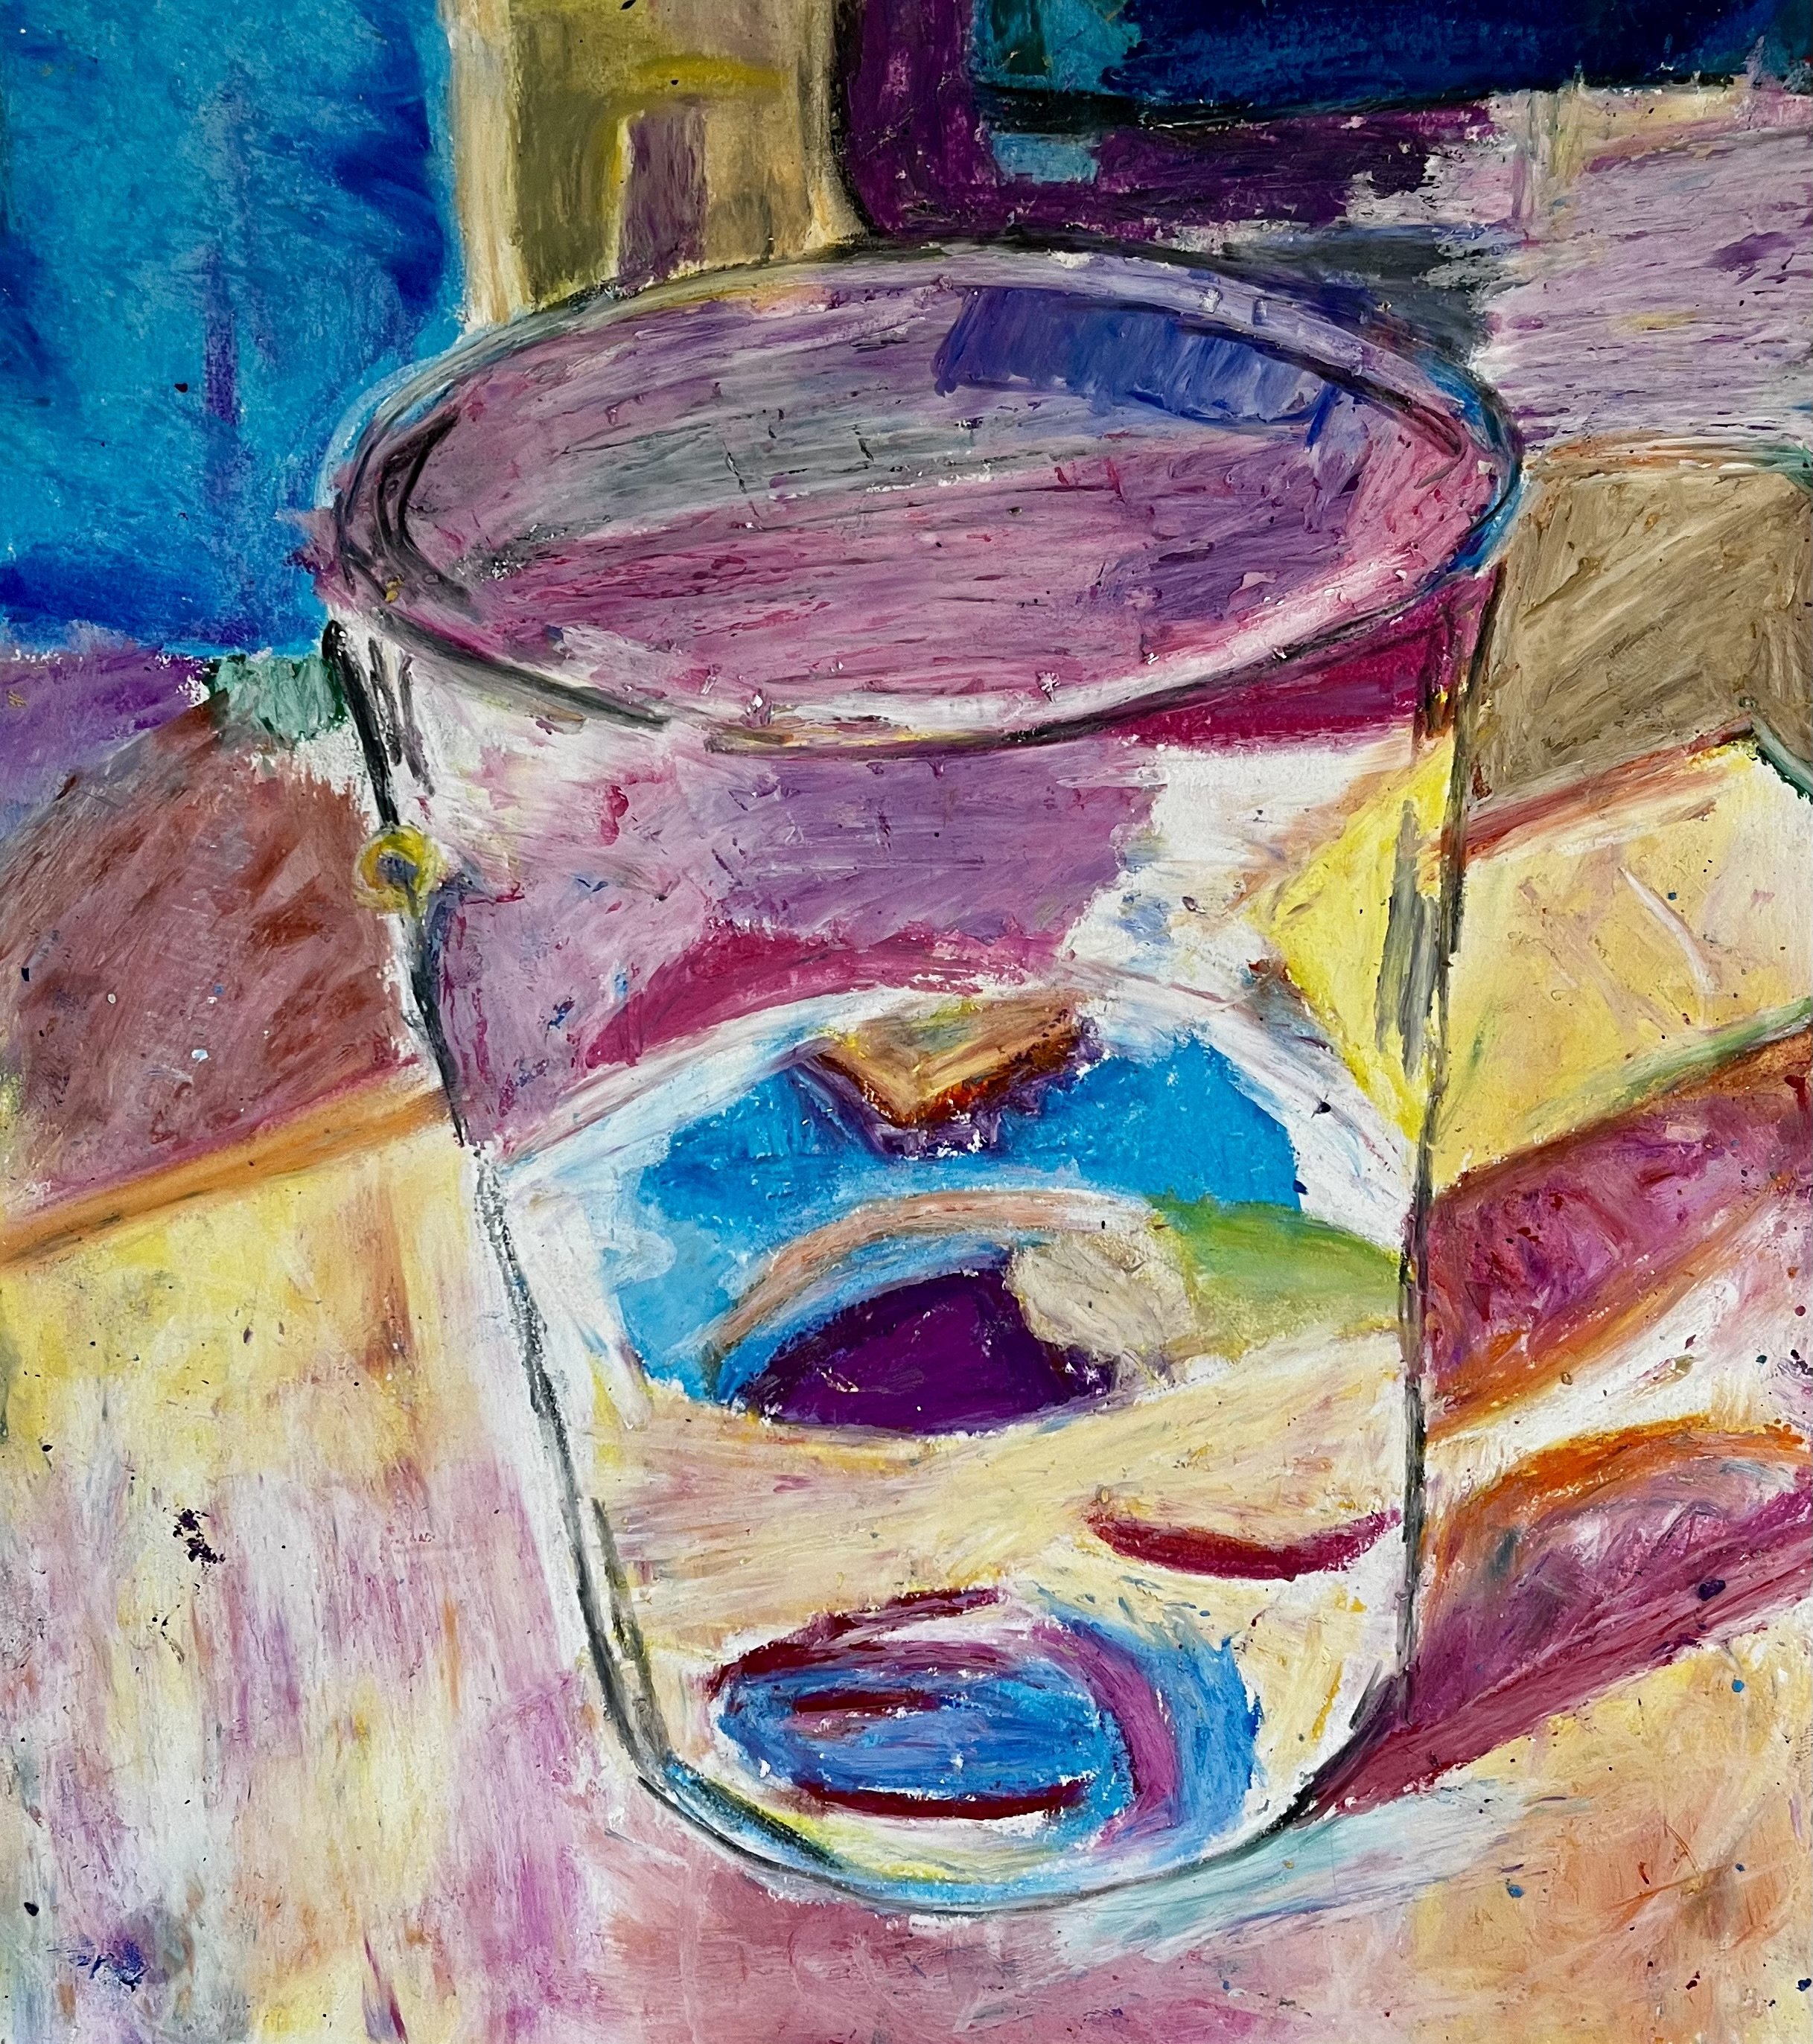
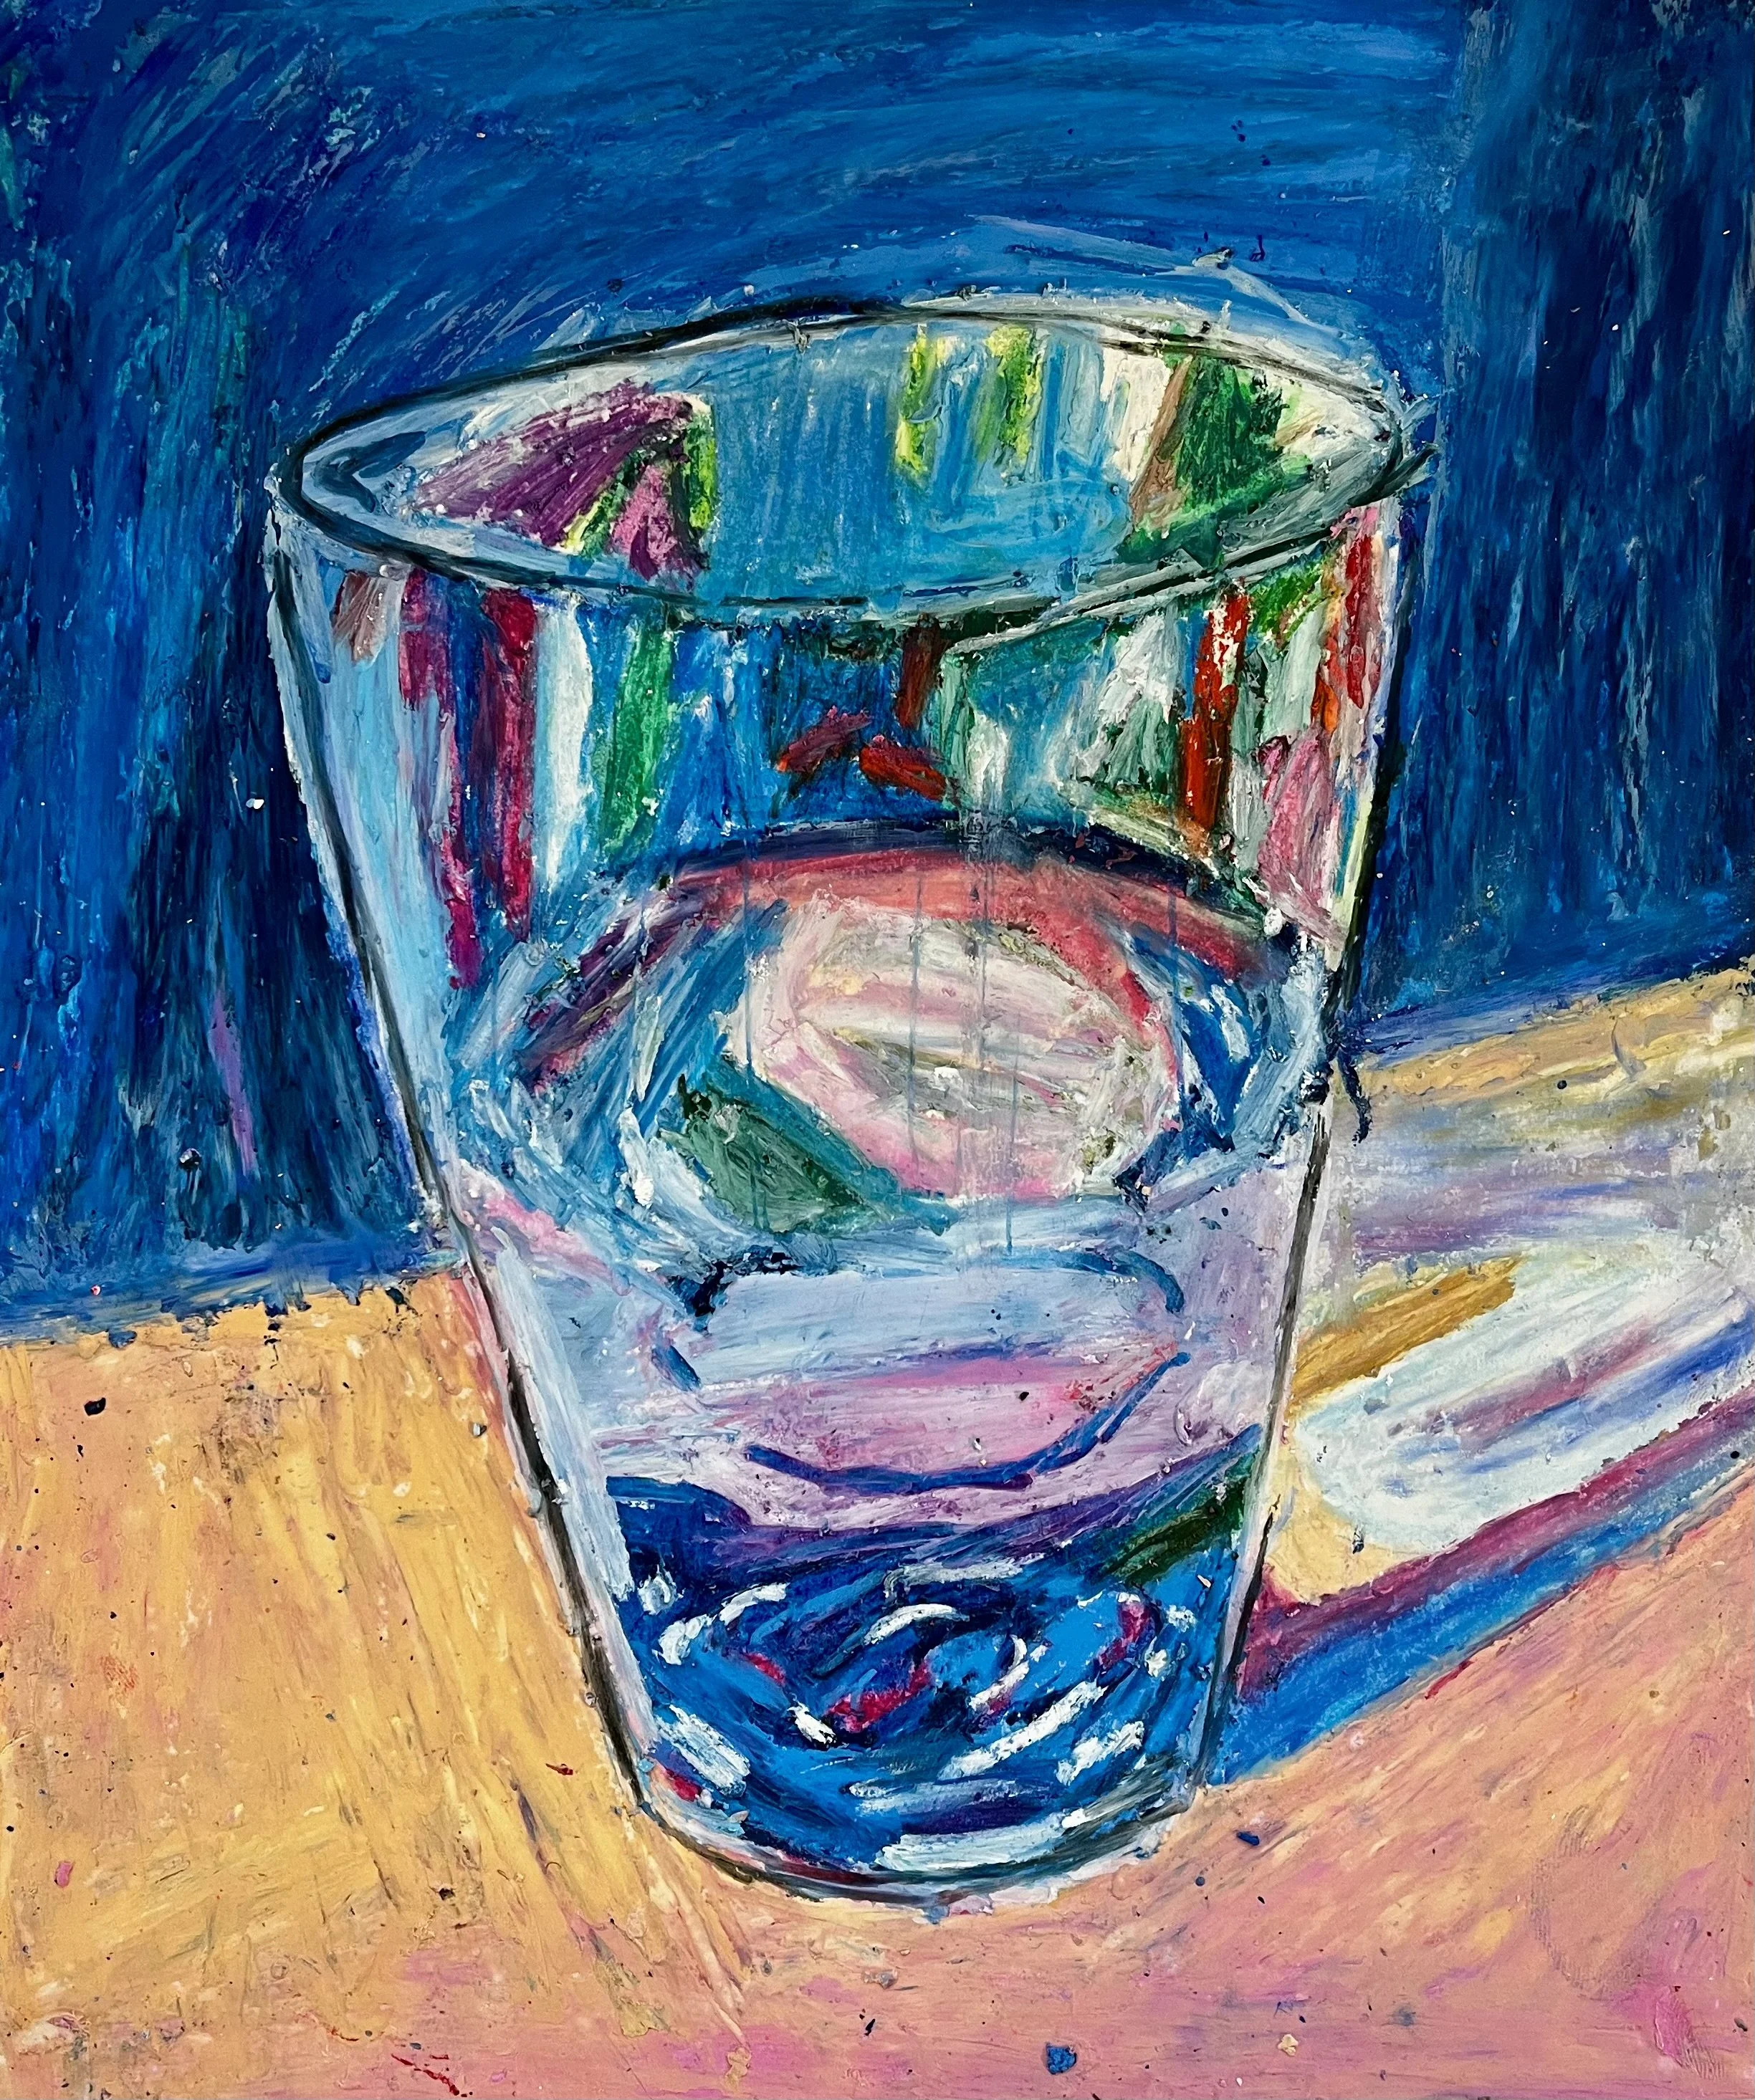
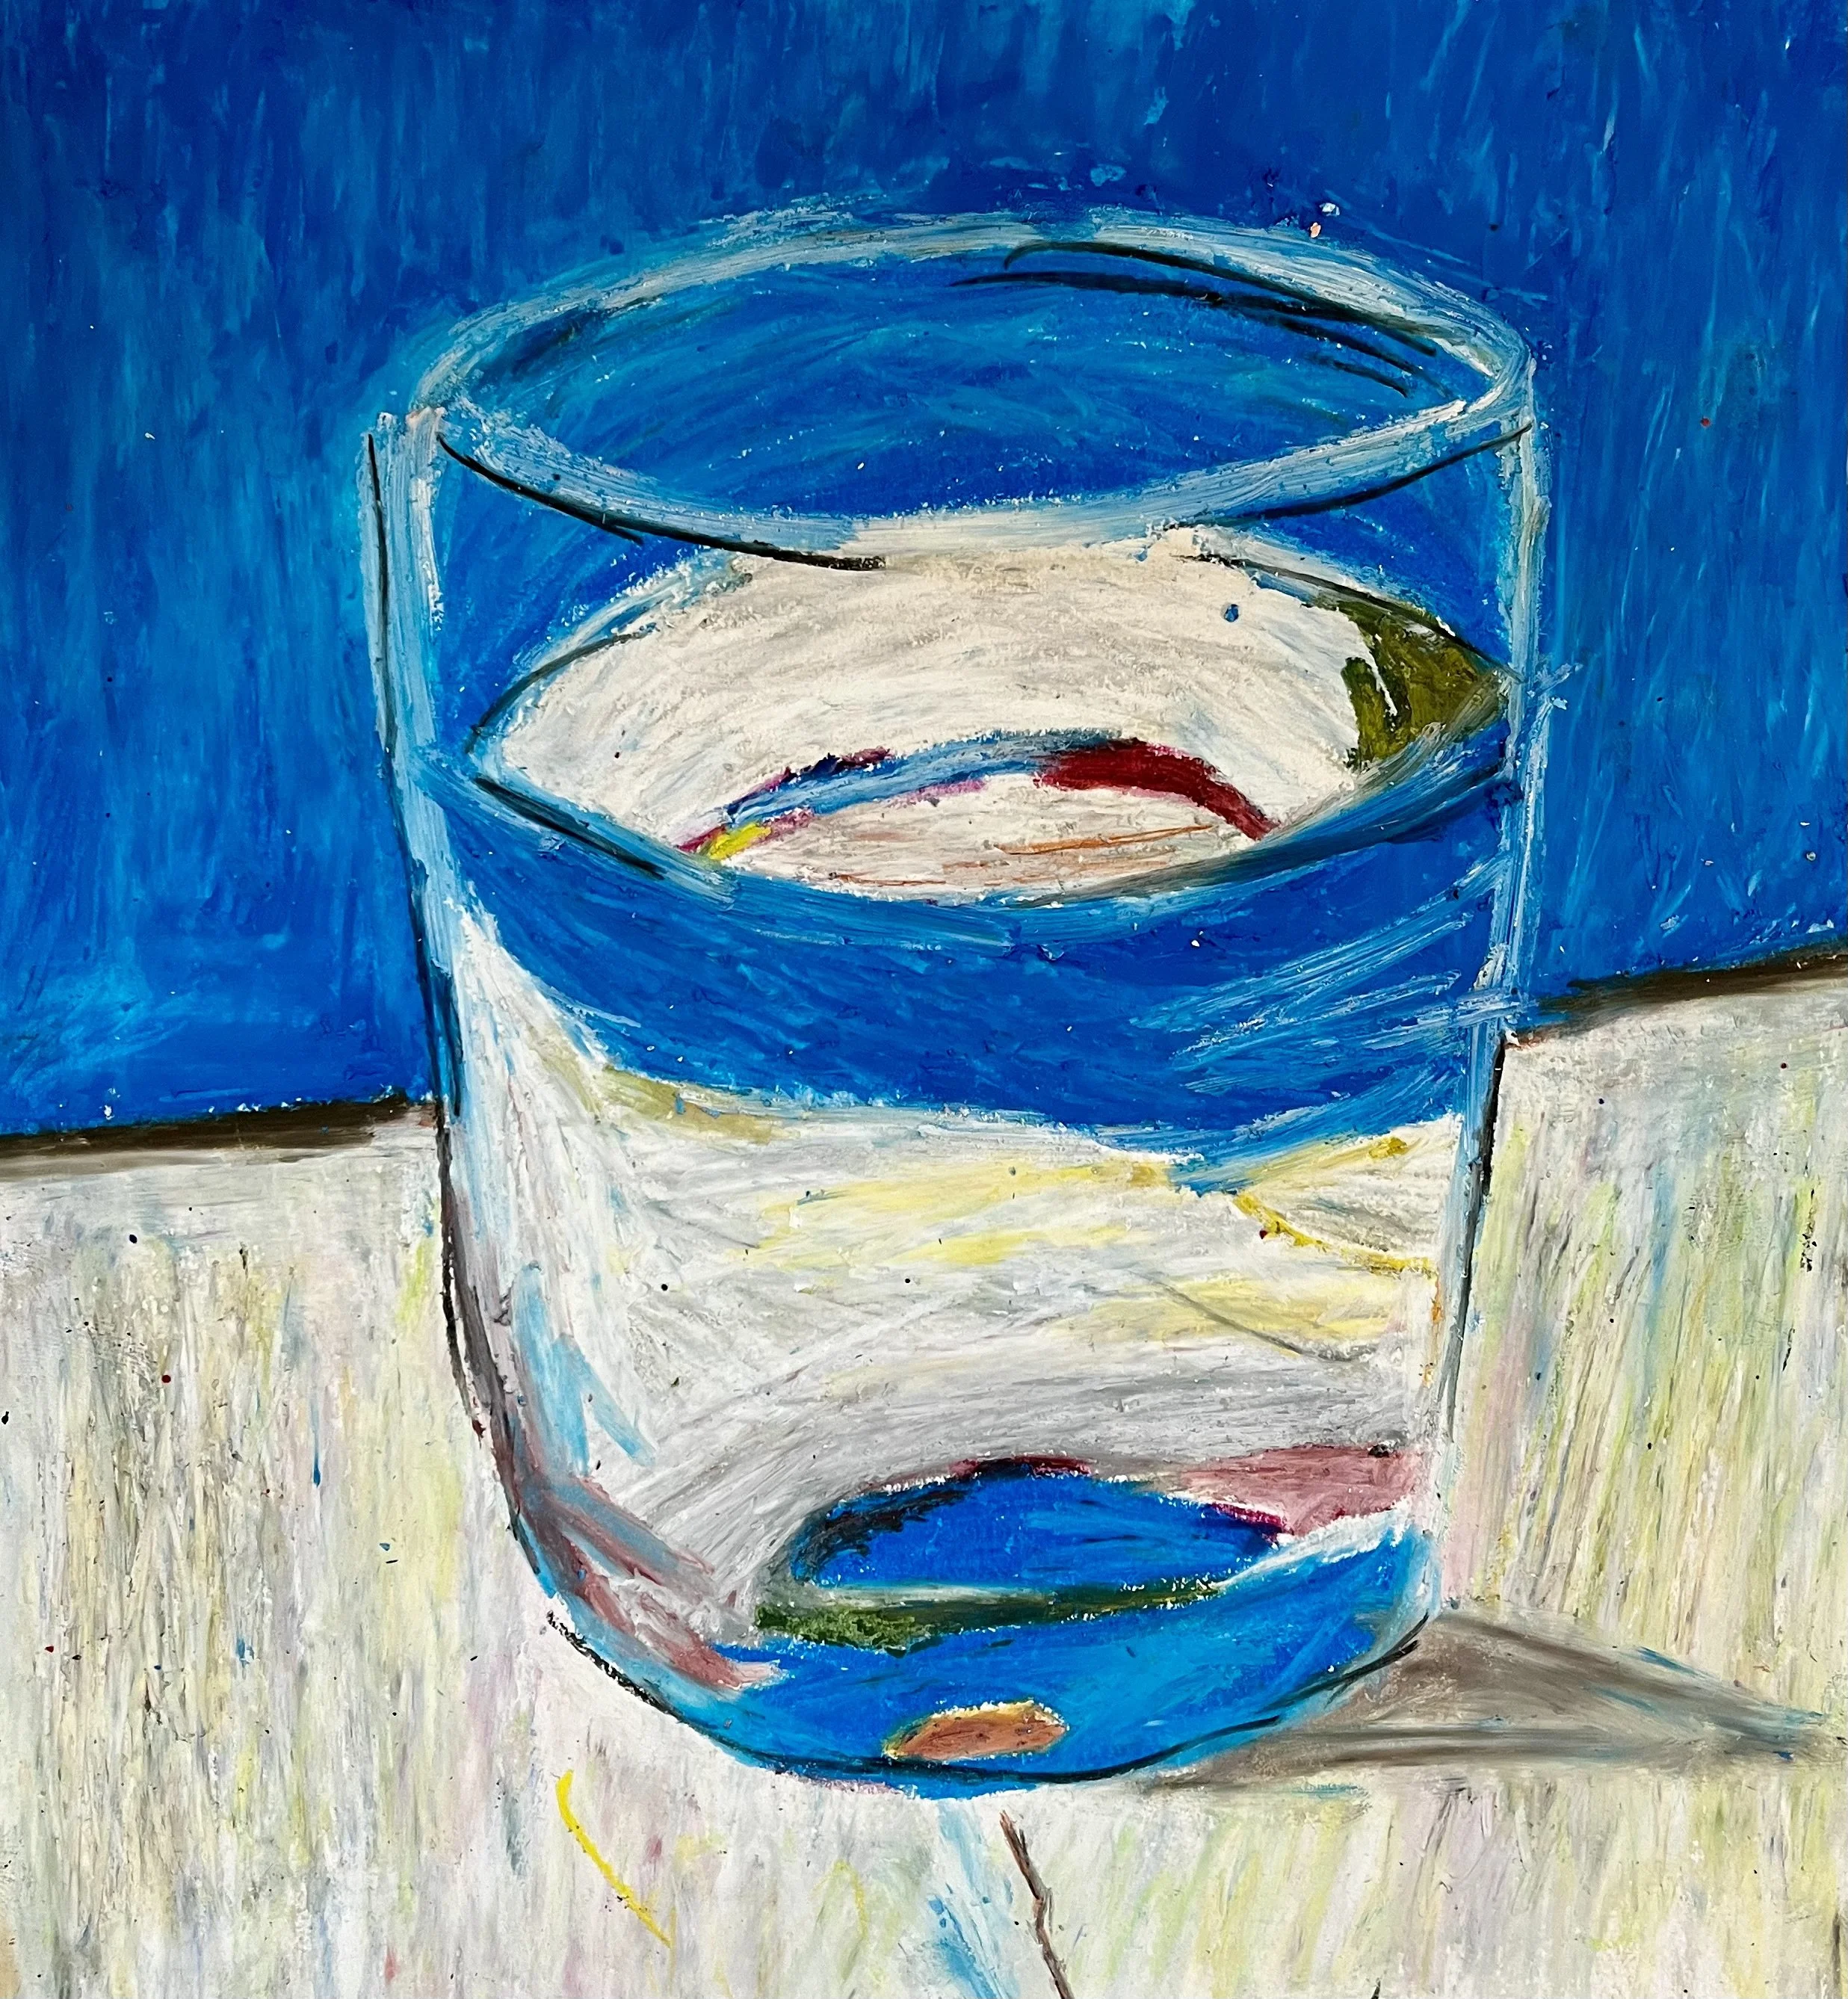
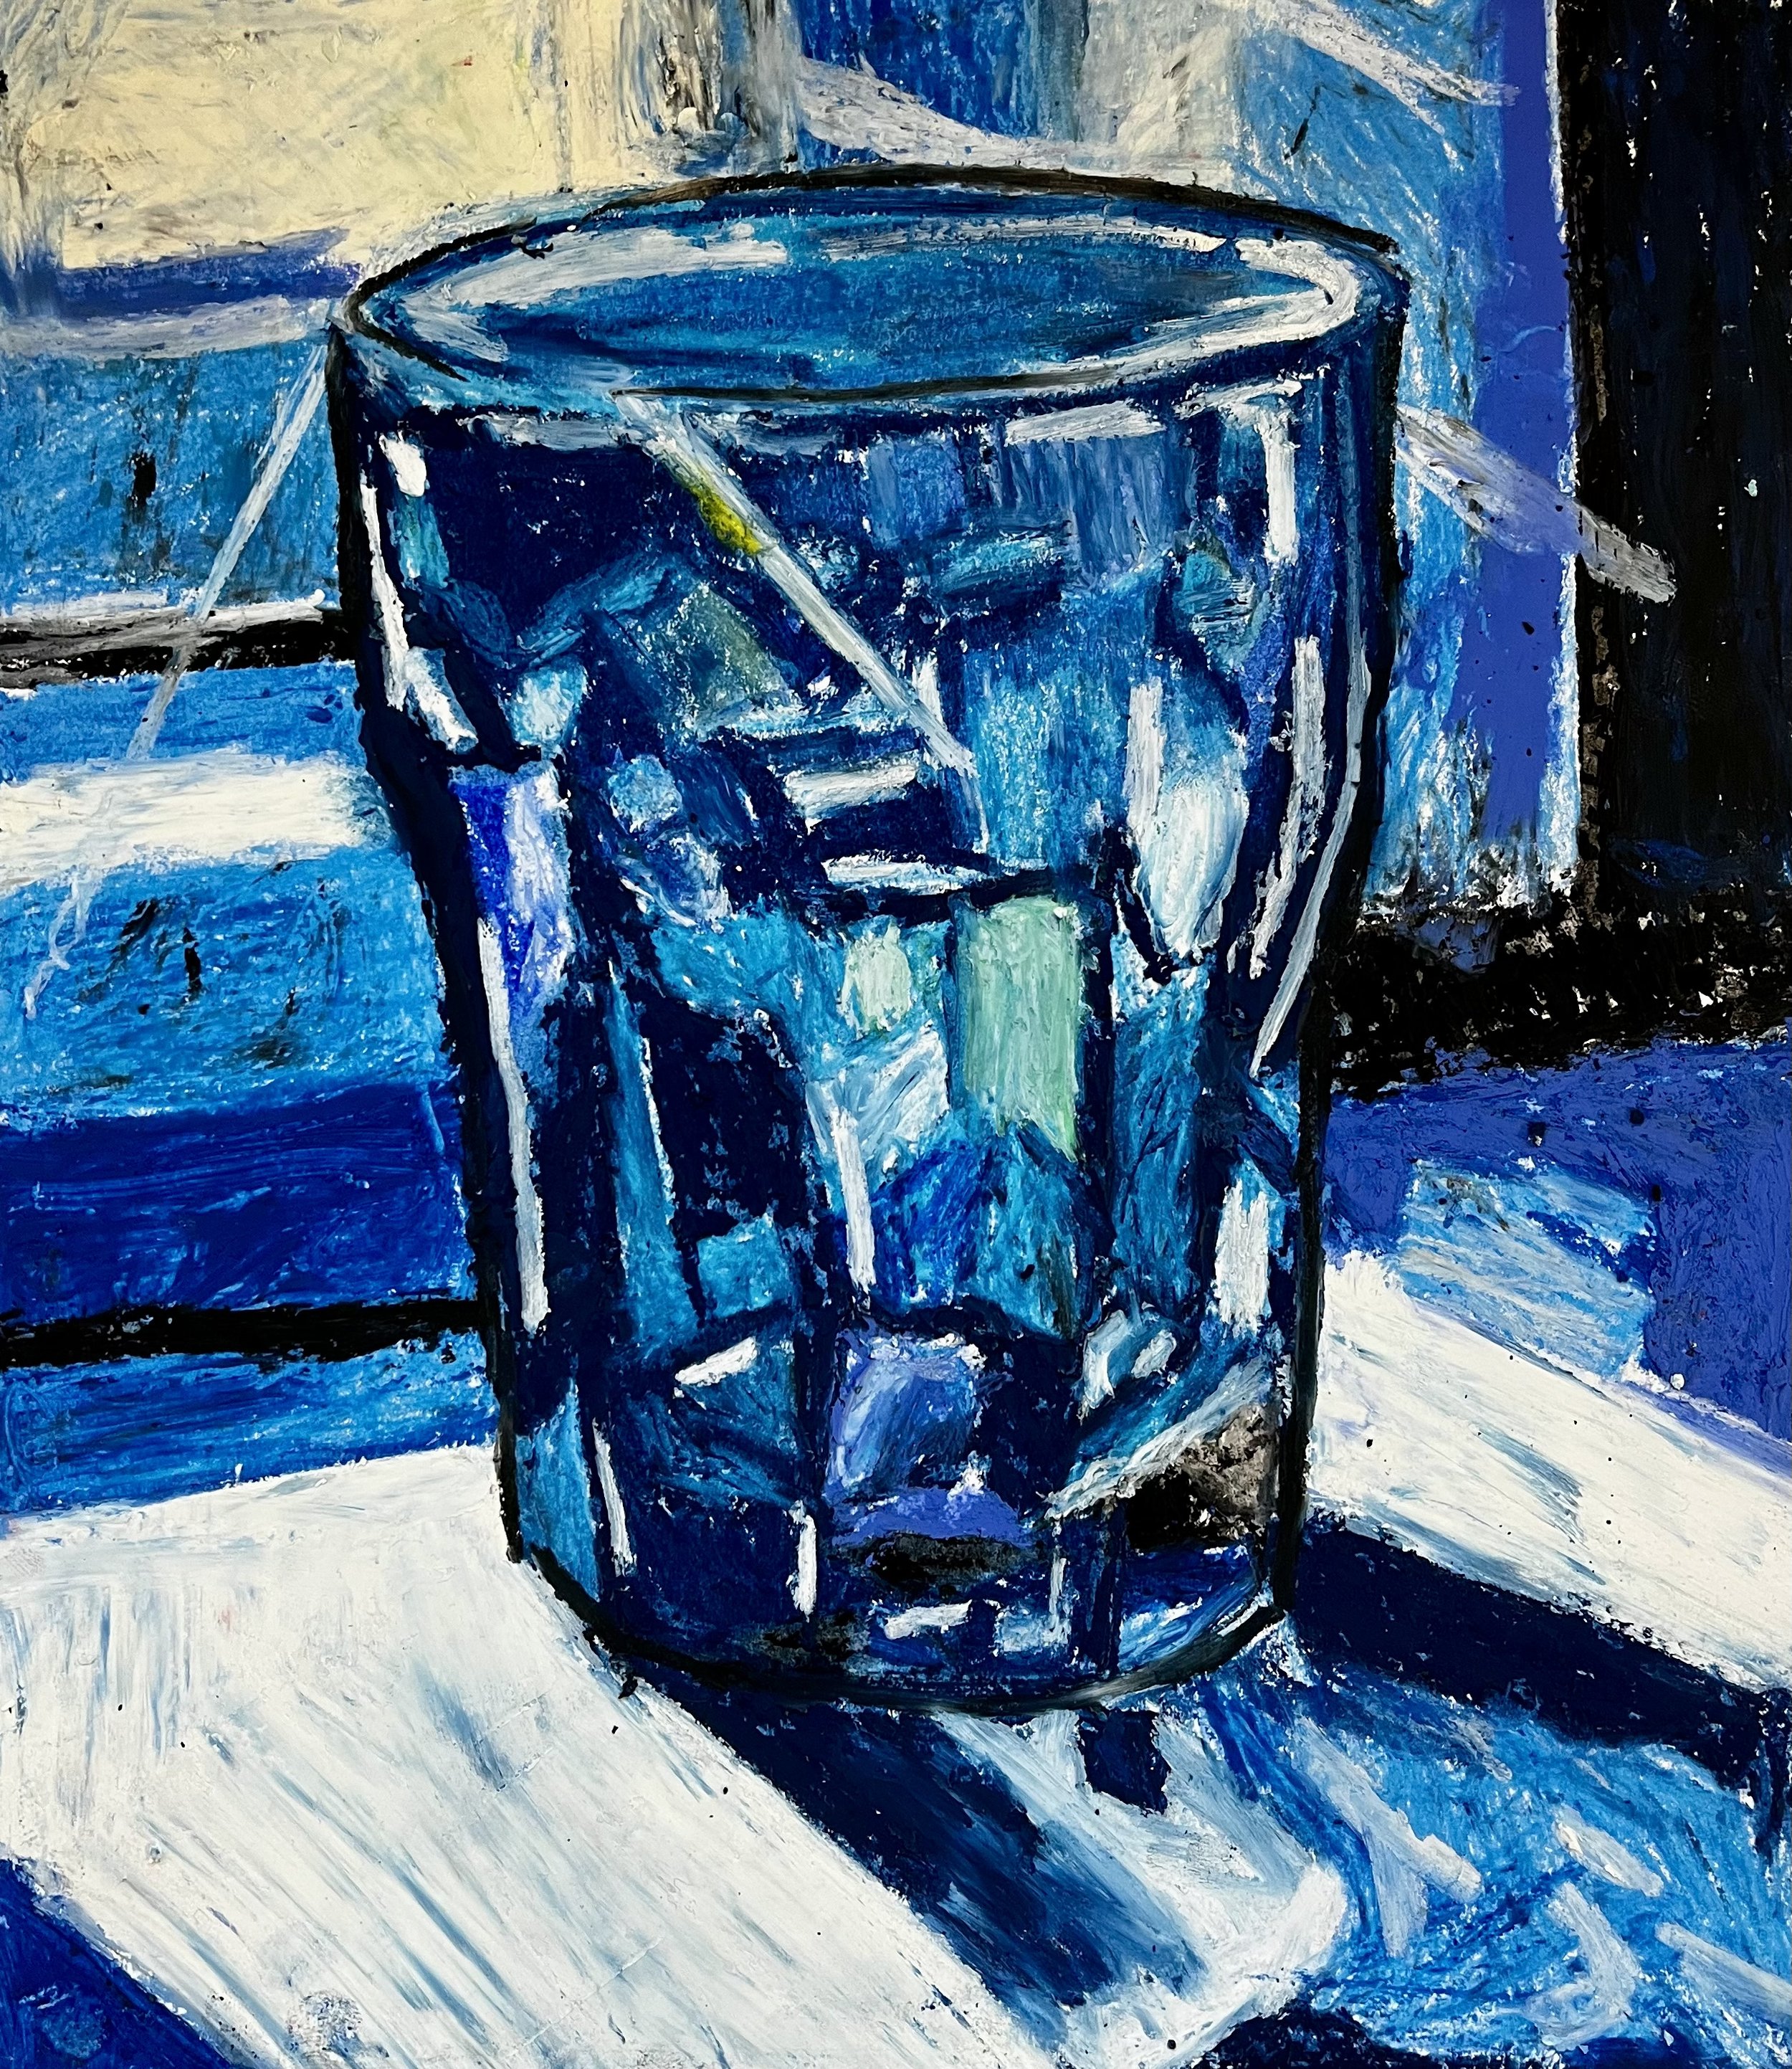
Still Life Glasses

3
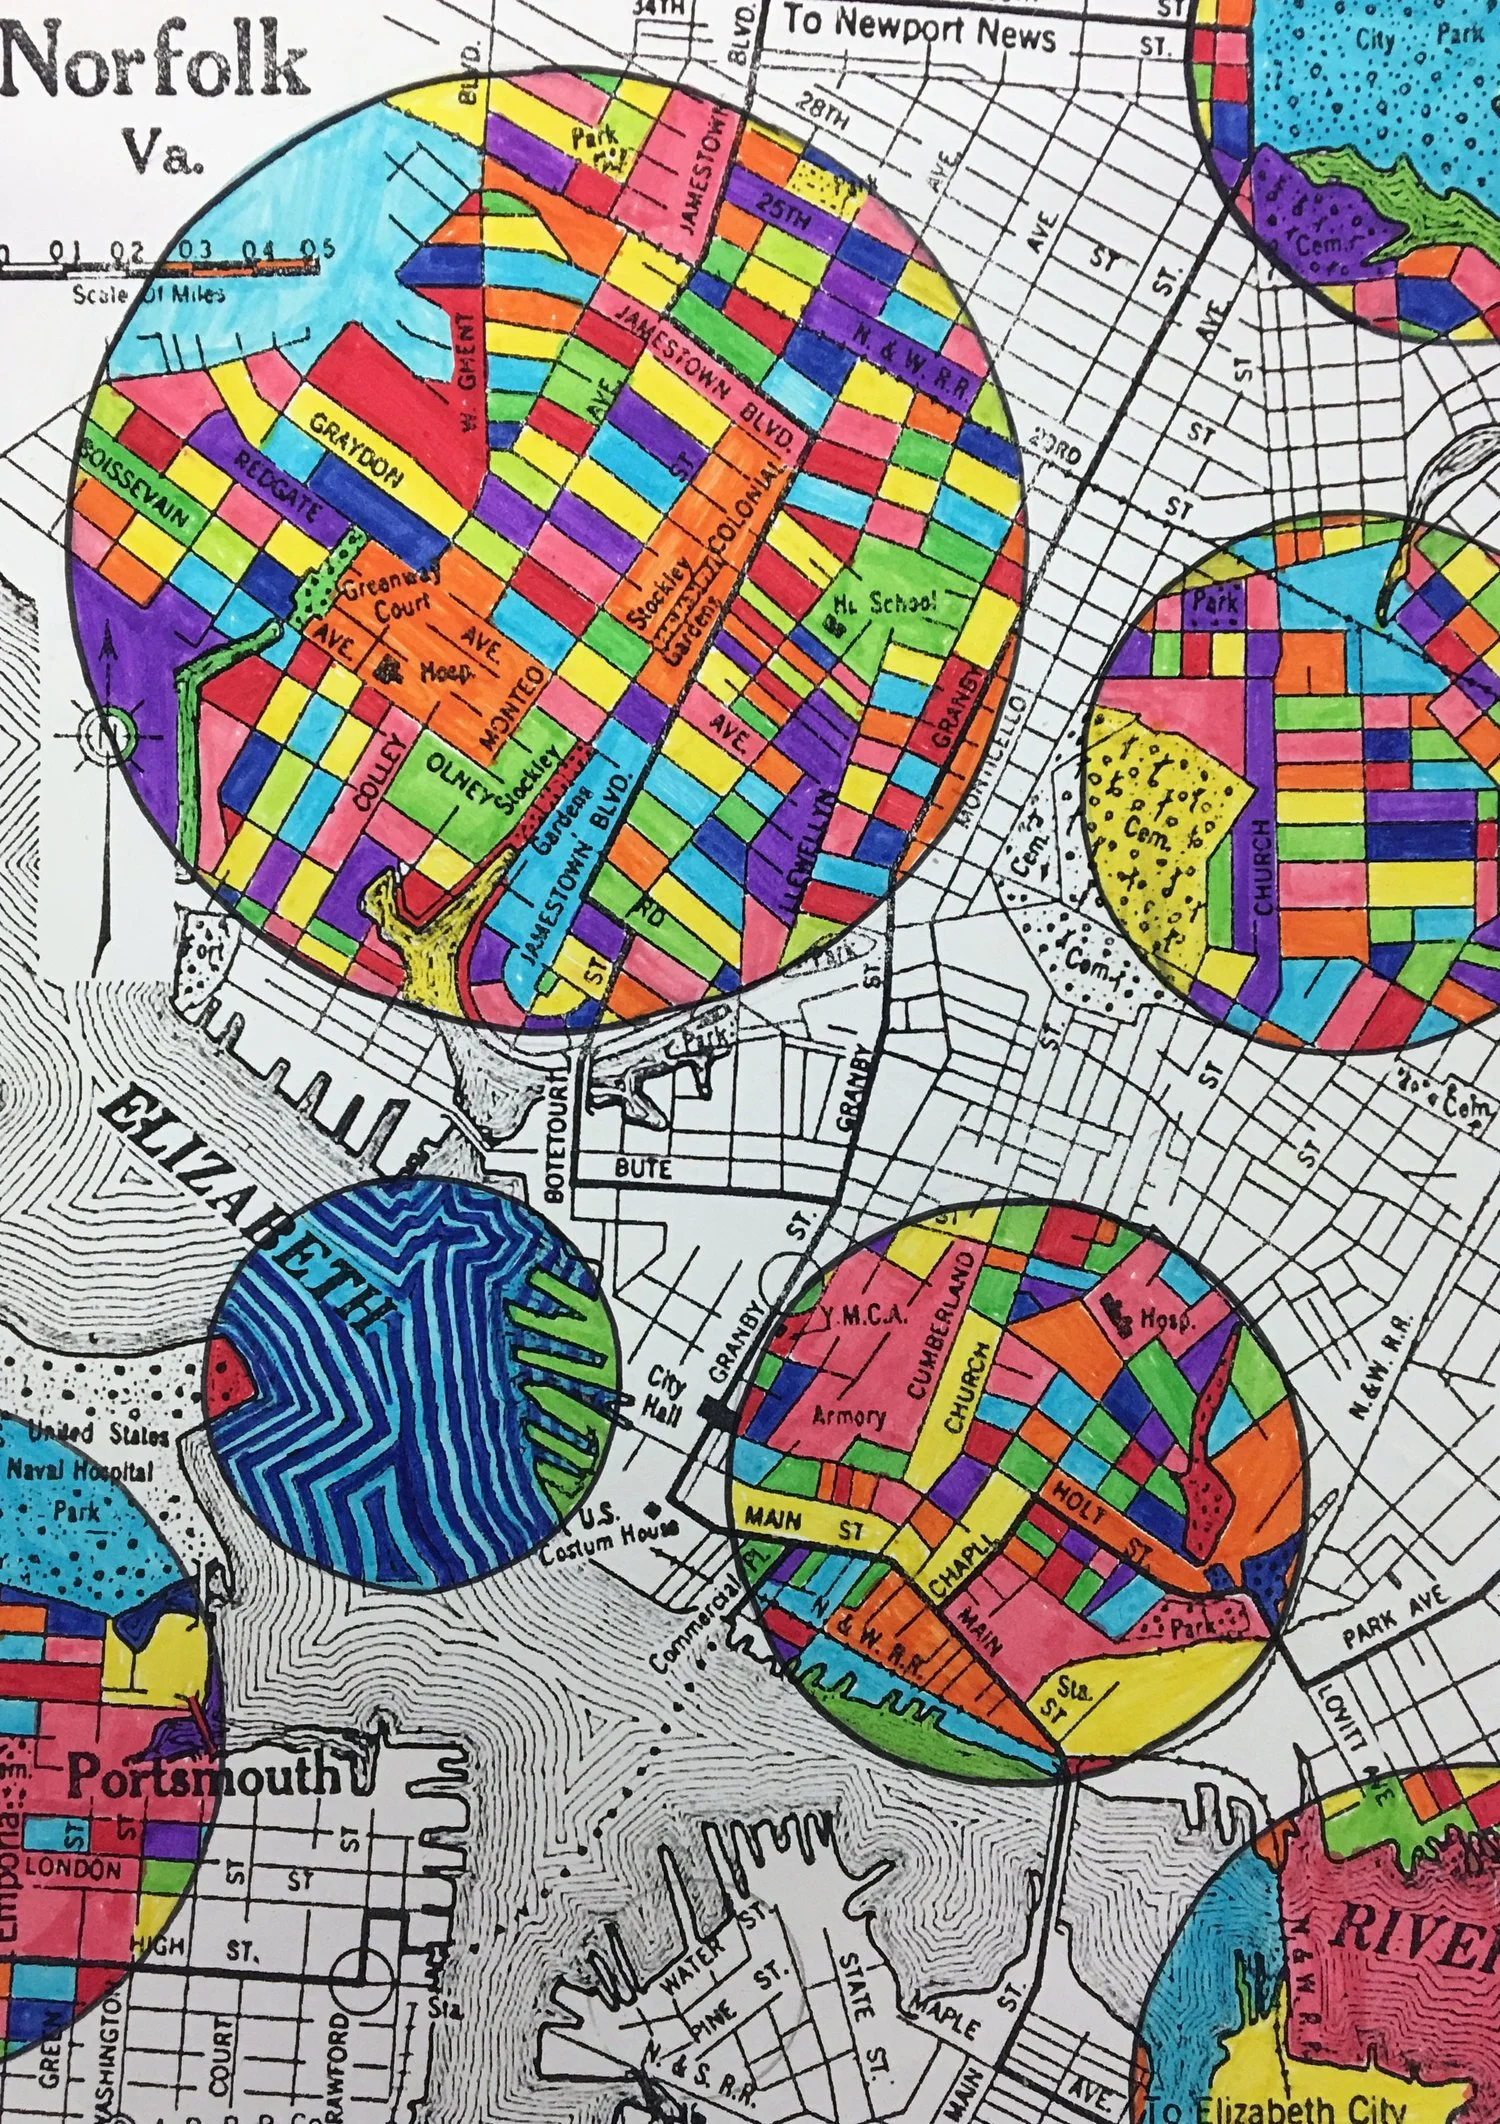
Autobiographical Maps

3
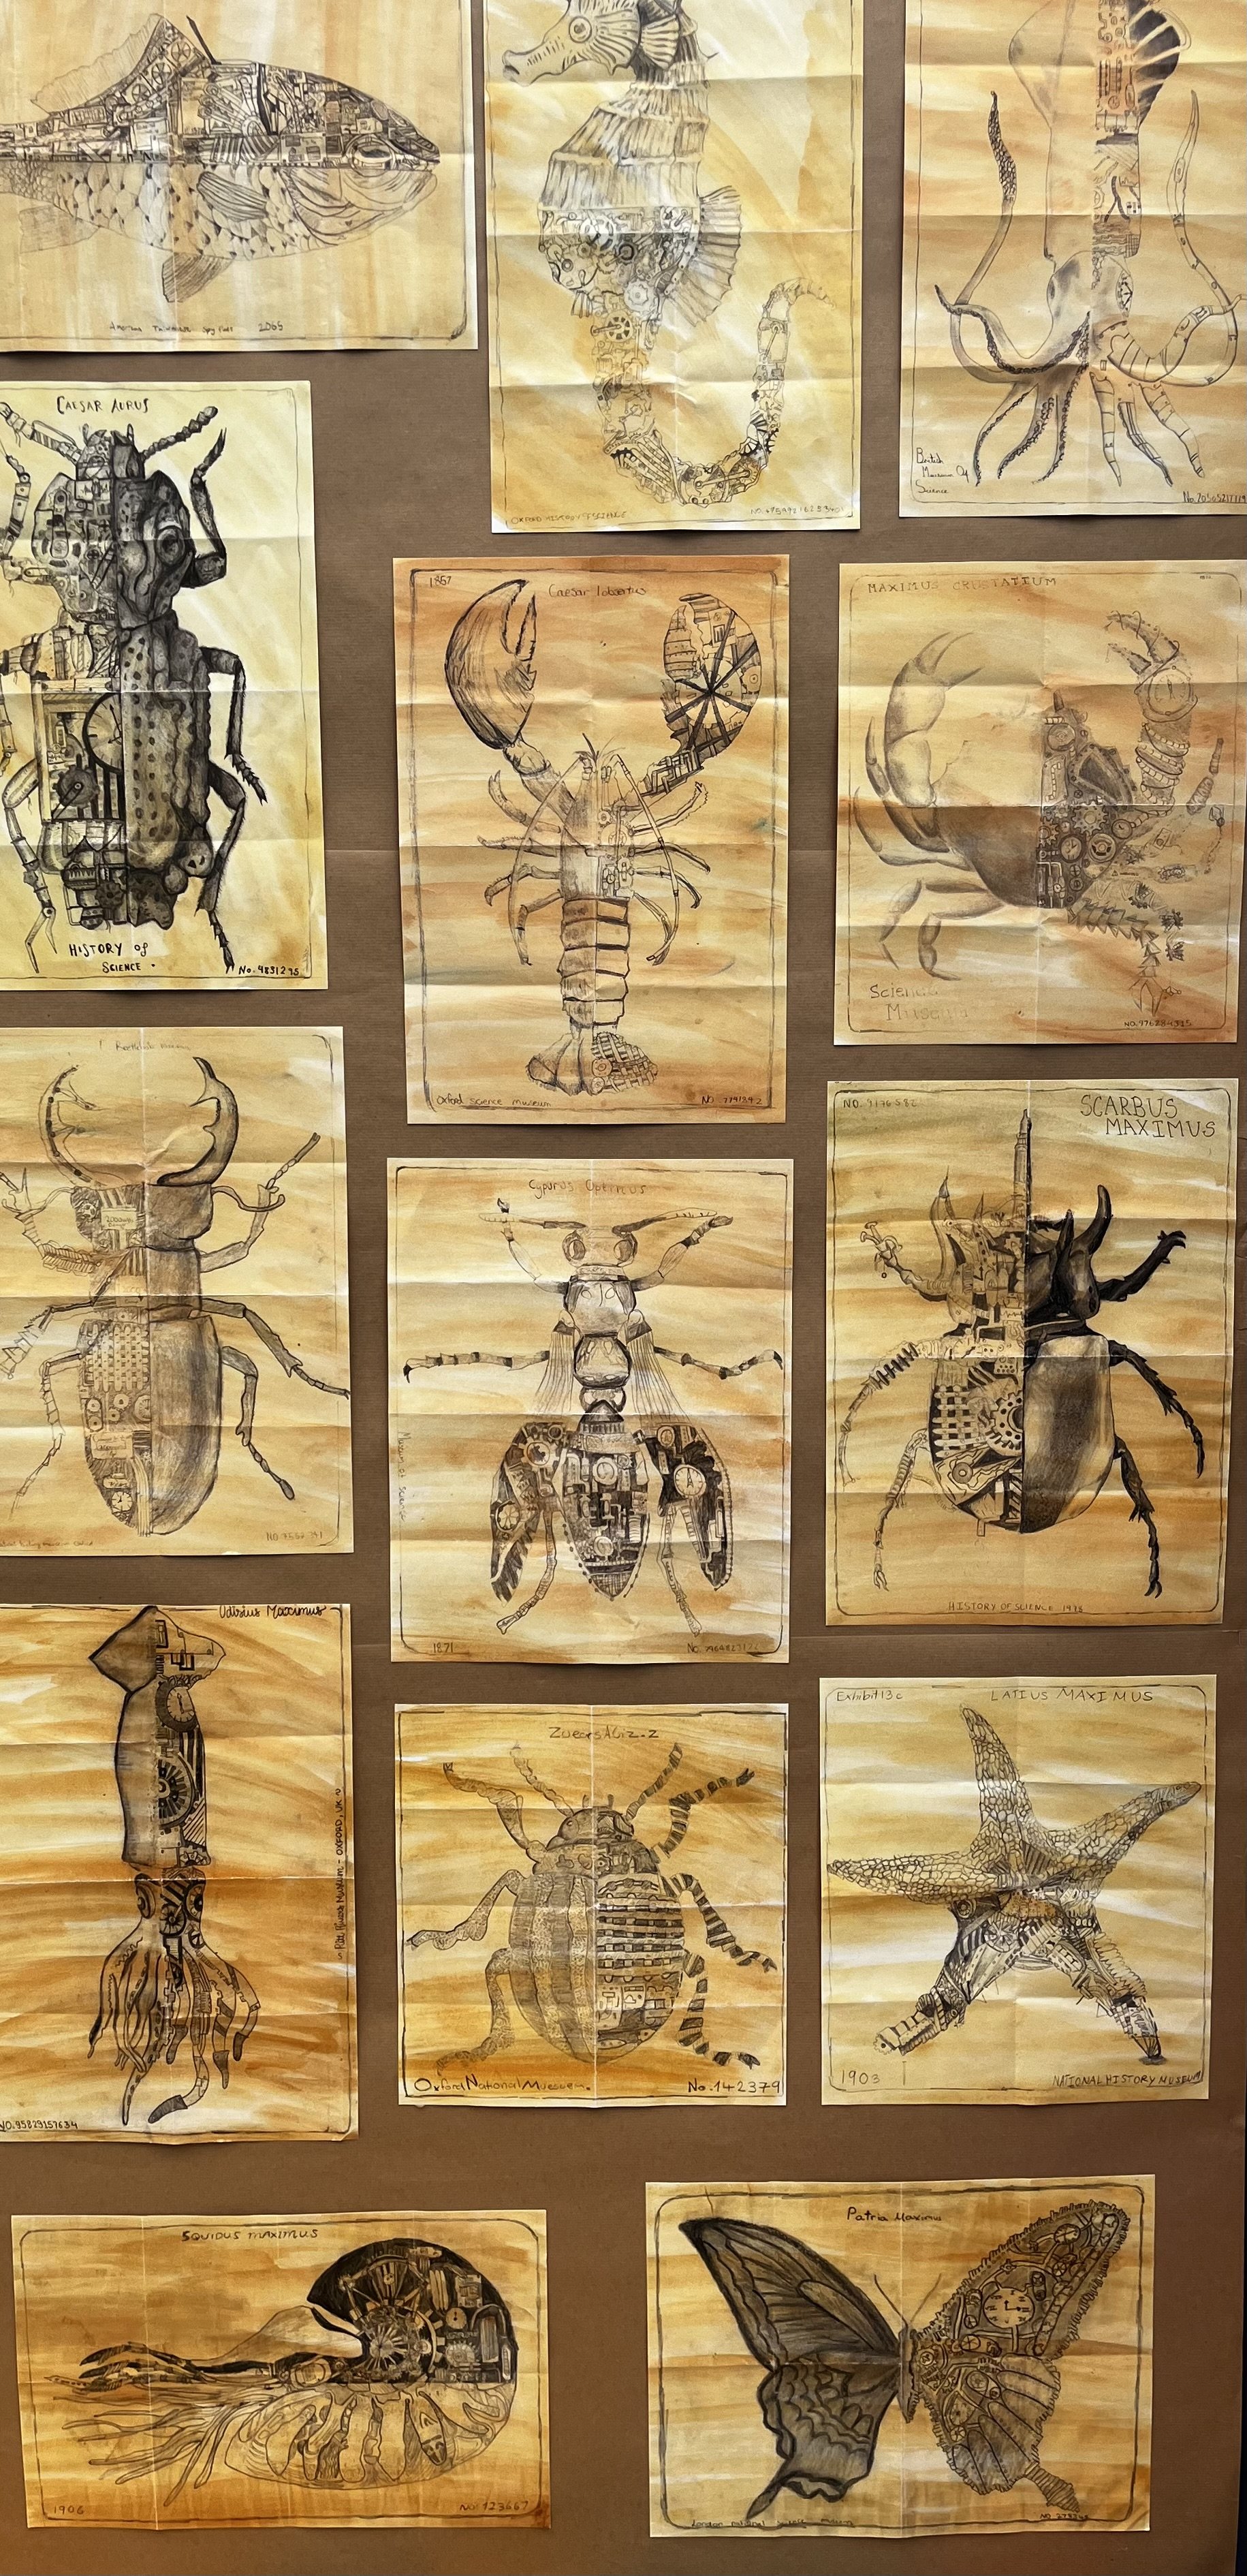
Mechanical Form
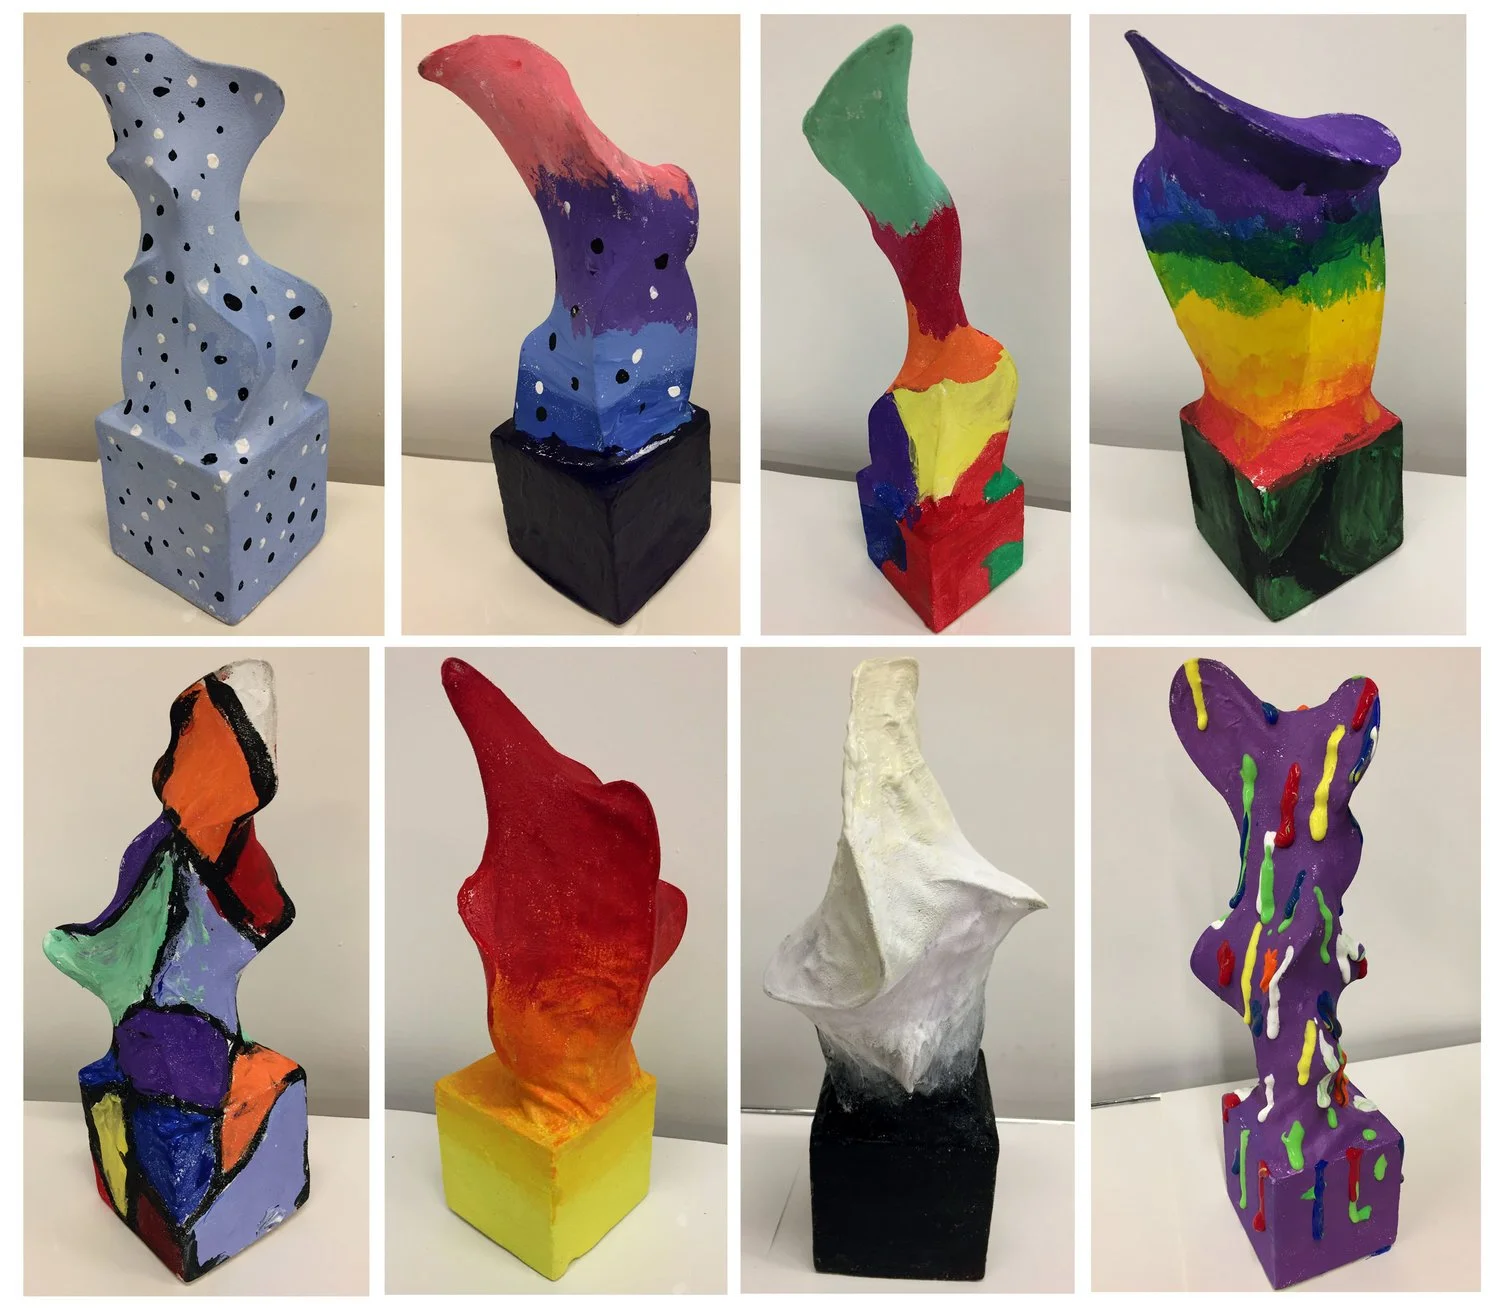
2
Abstract Sculptures

2
A Better Future

2
Colour Tonal Collage

3
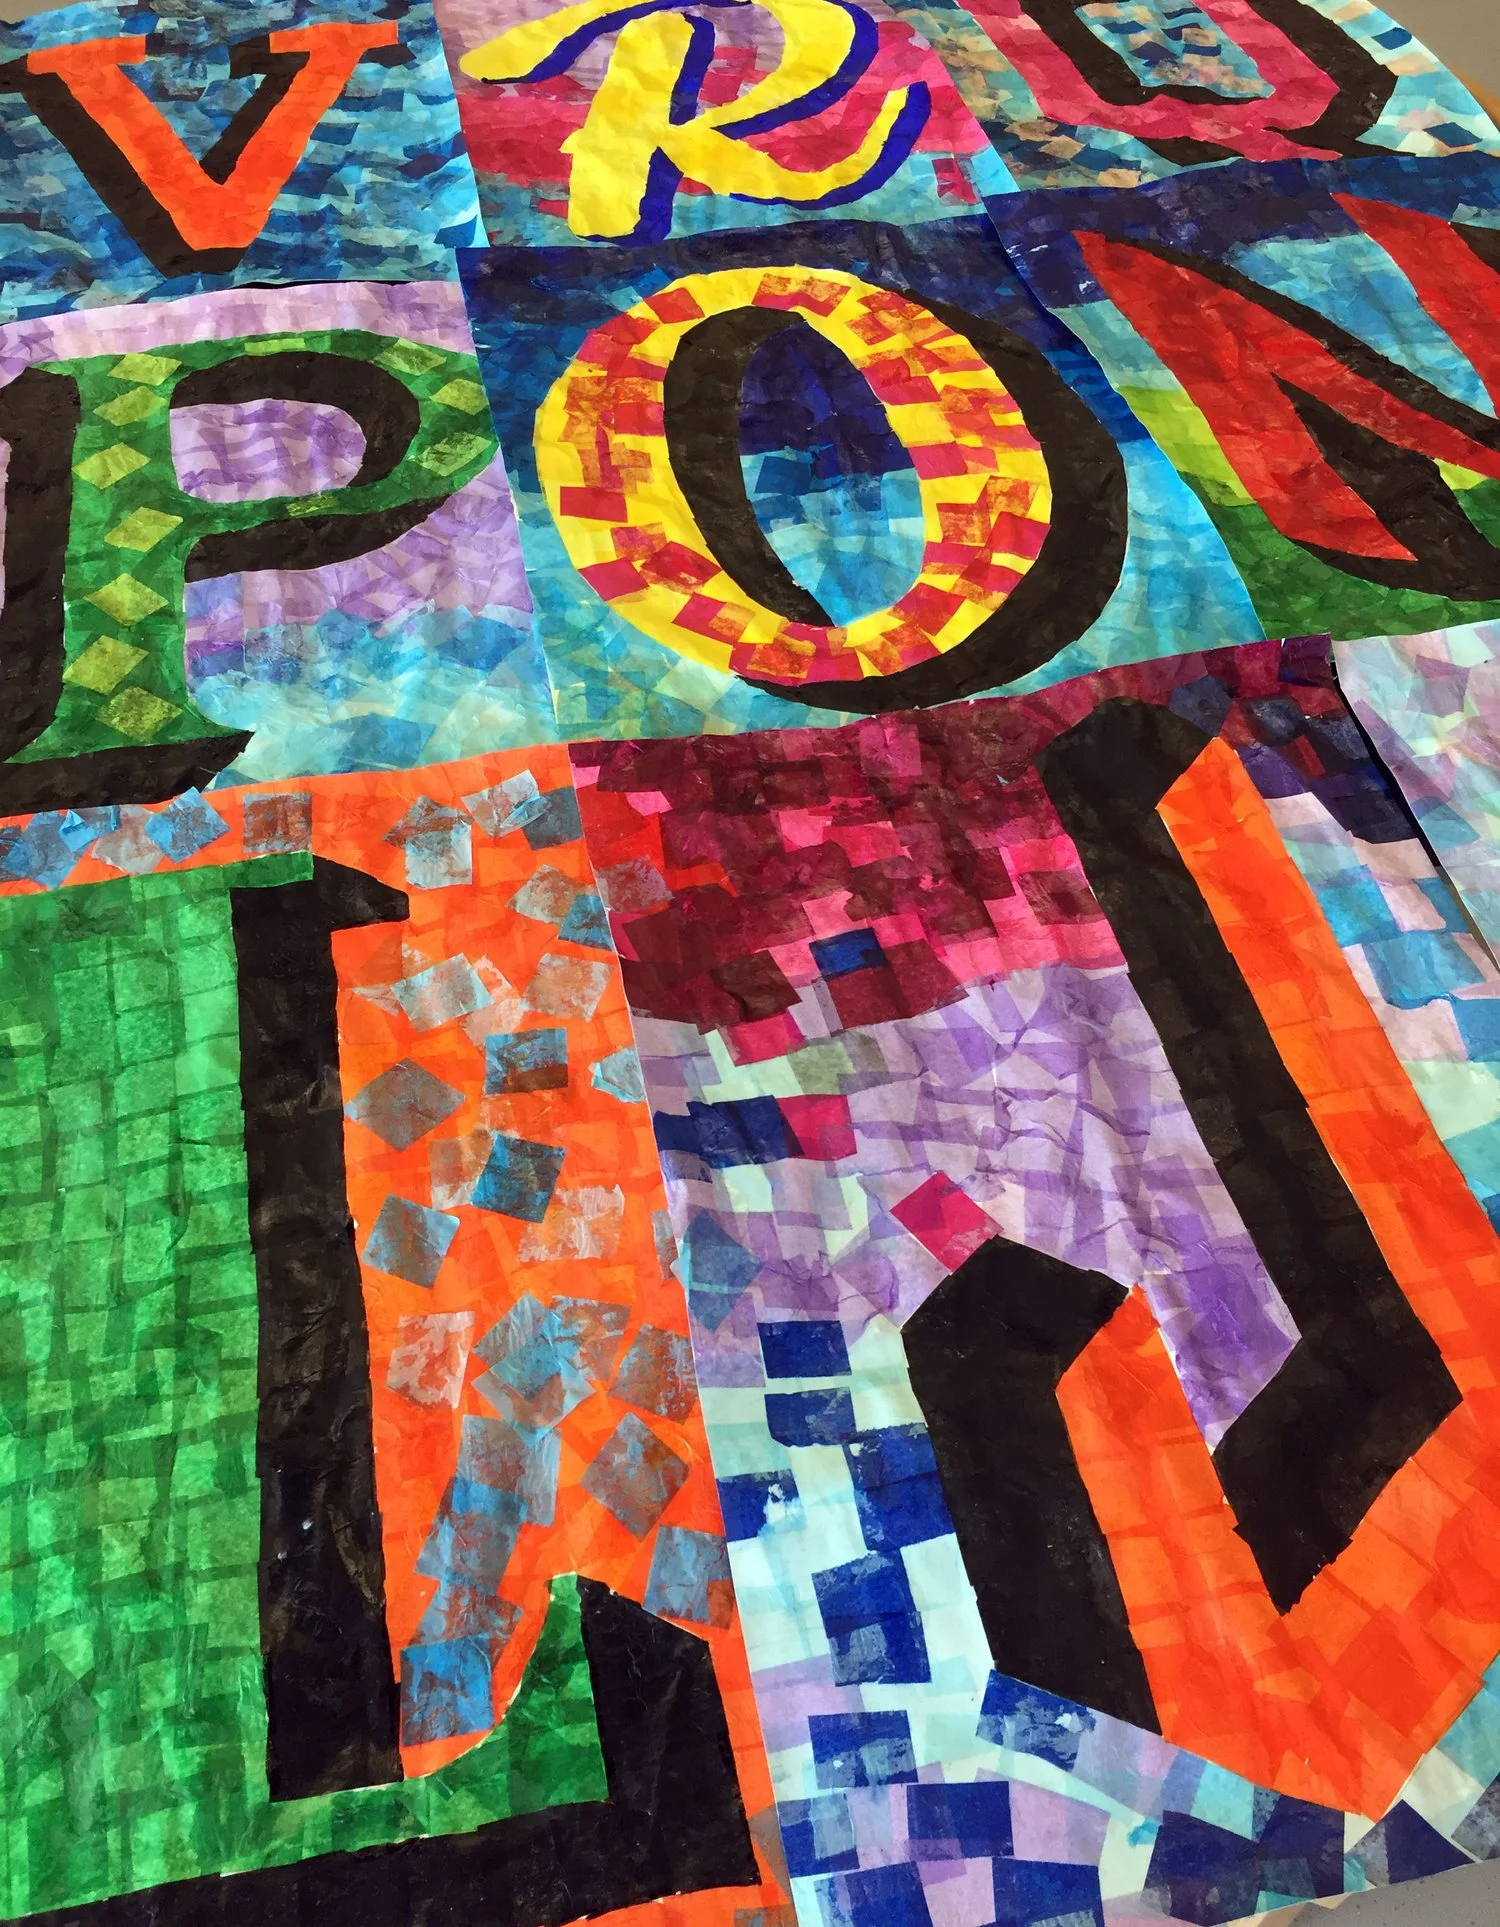
Tissue Paper Typography

2
Bacteria Petri Dishes

2
Japanese Cherry Blossoms

2
Japanese Koi Carp
6
Mechanical Animals

2
Illuminated Letters

3
Skateboard Decks

3
Cactus Pots

3
Deep Sea World

3
Playing Cards

3
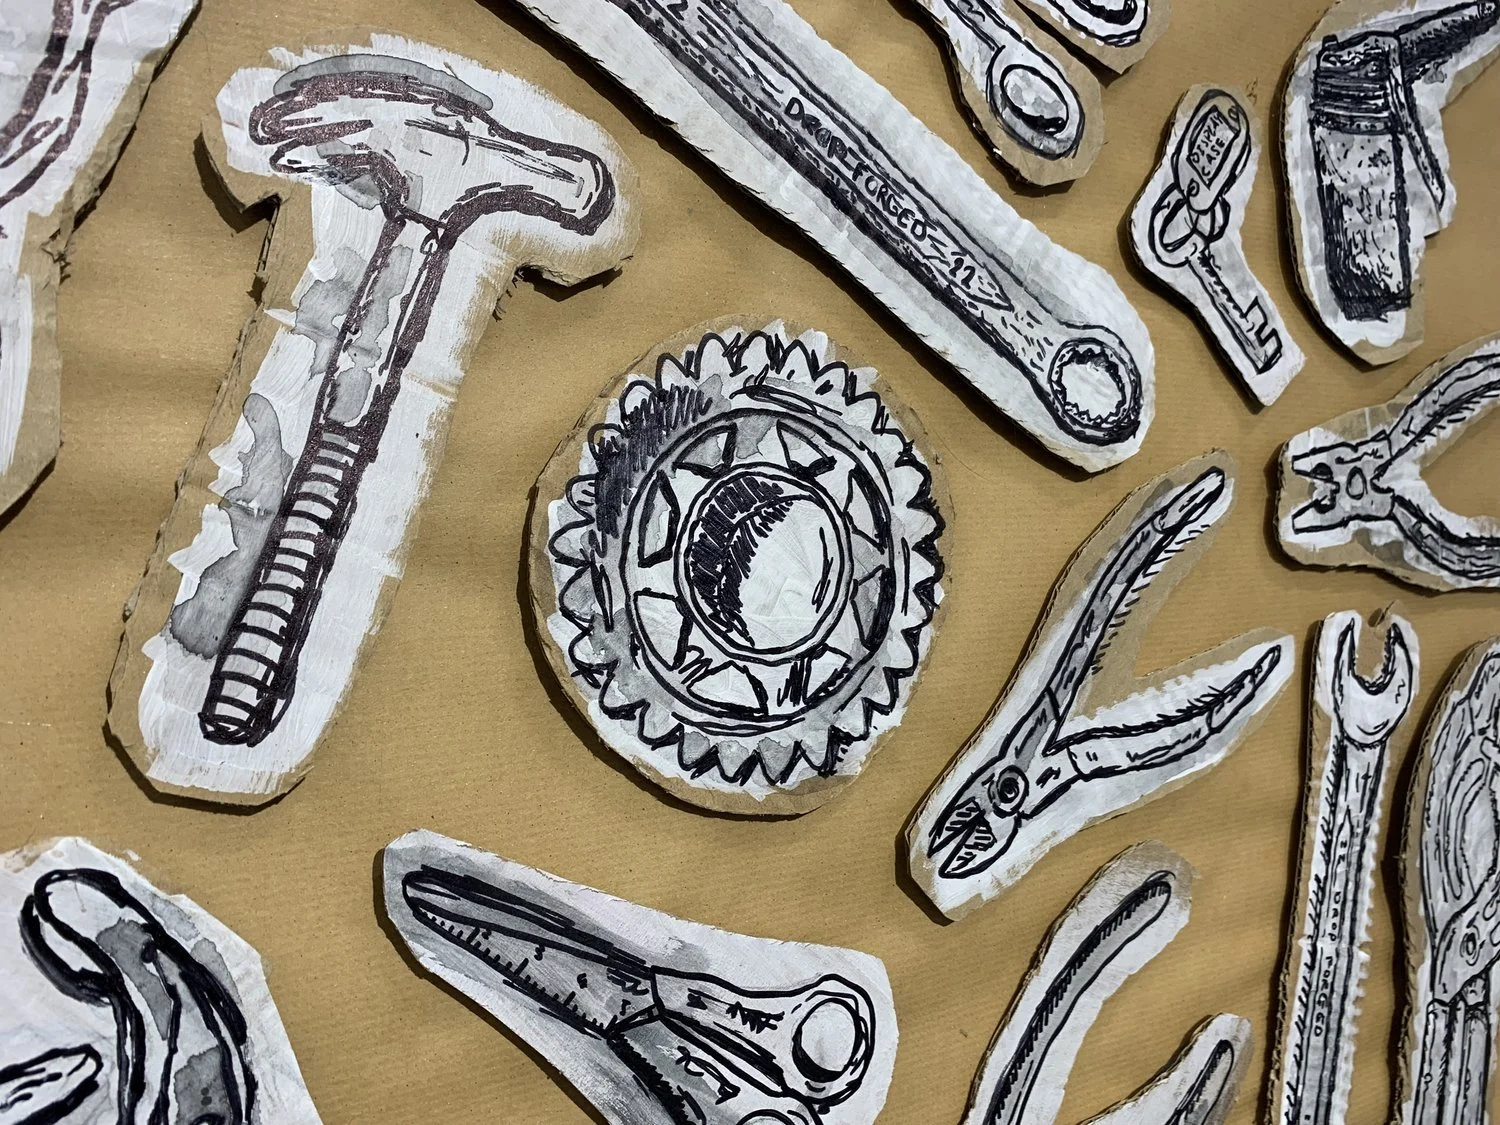
Mechanical Form
4
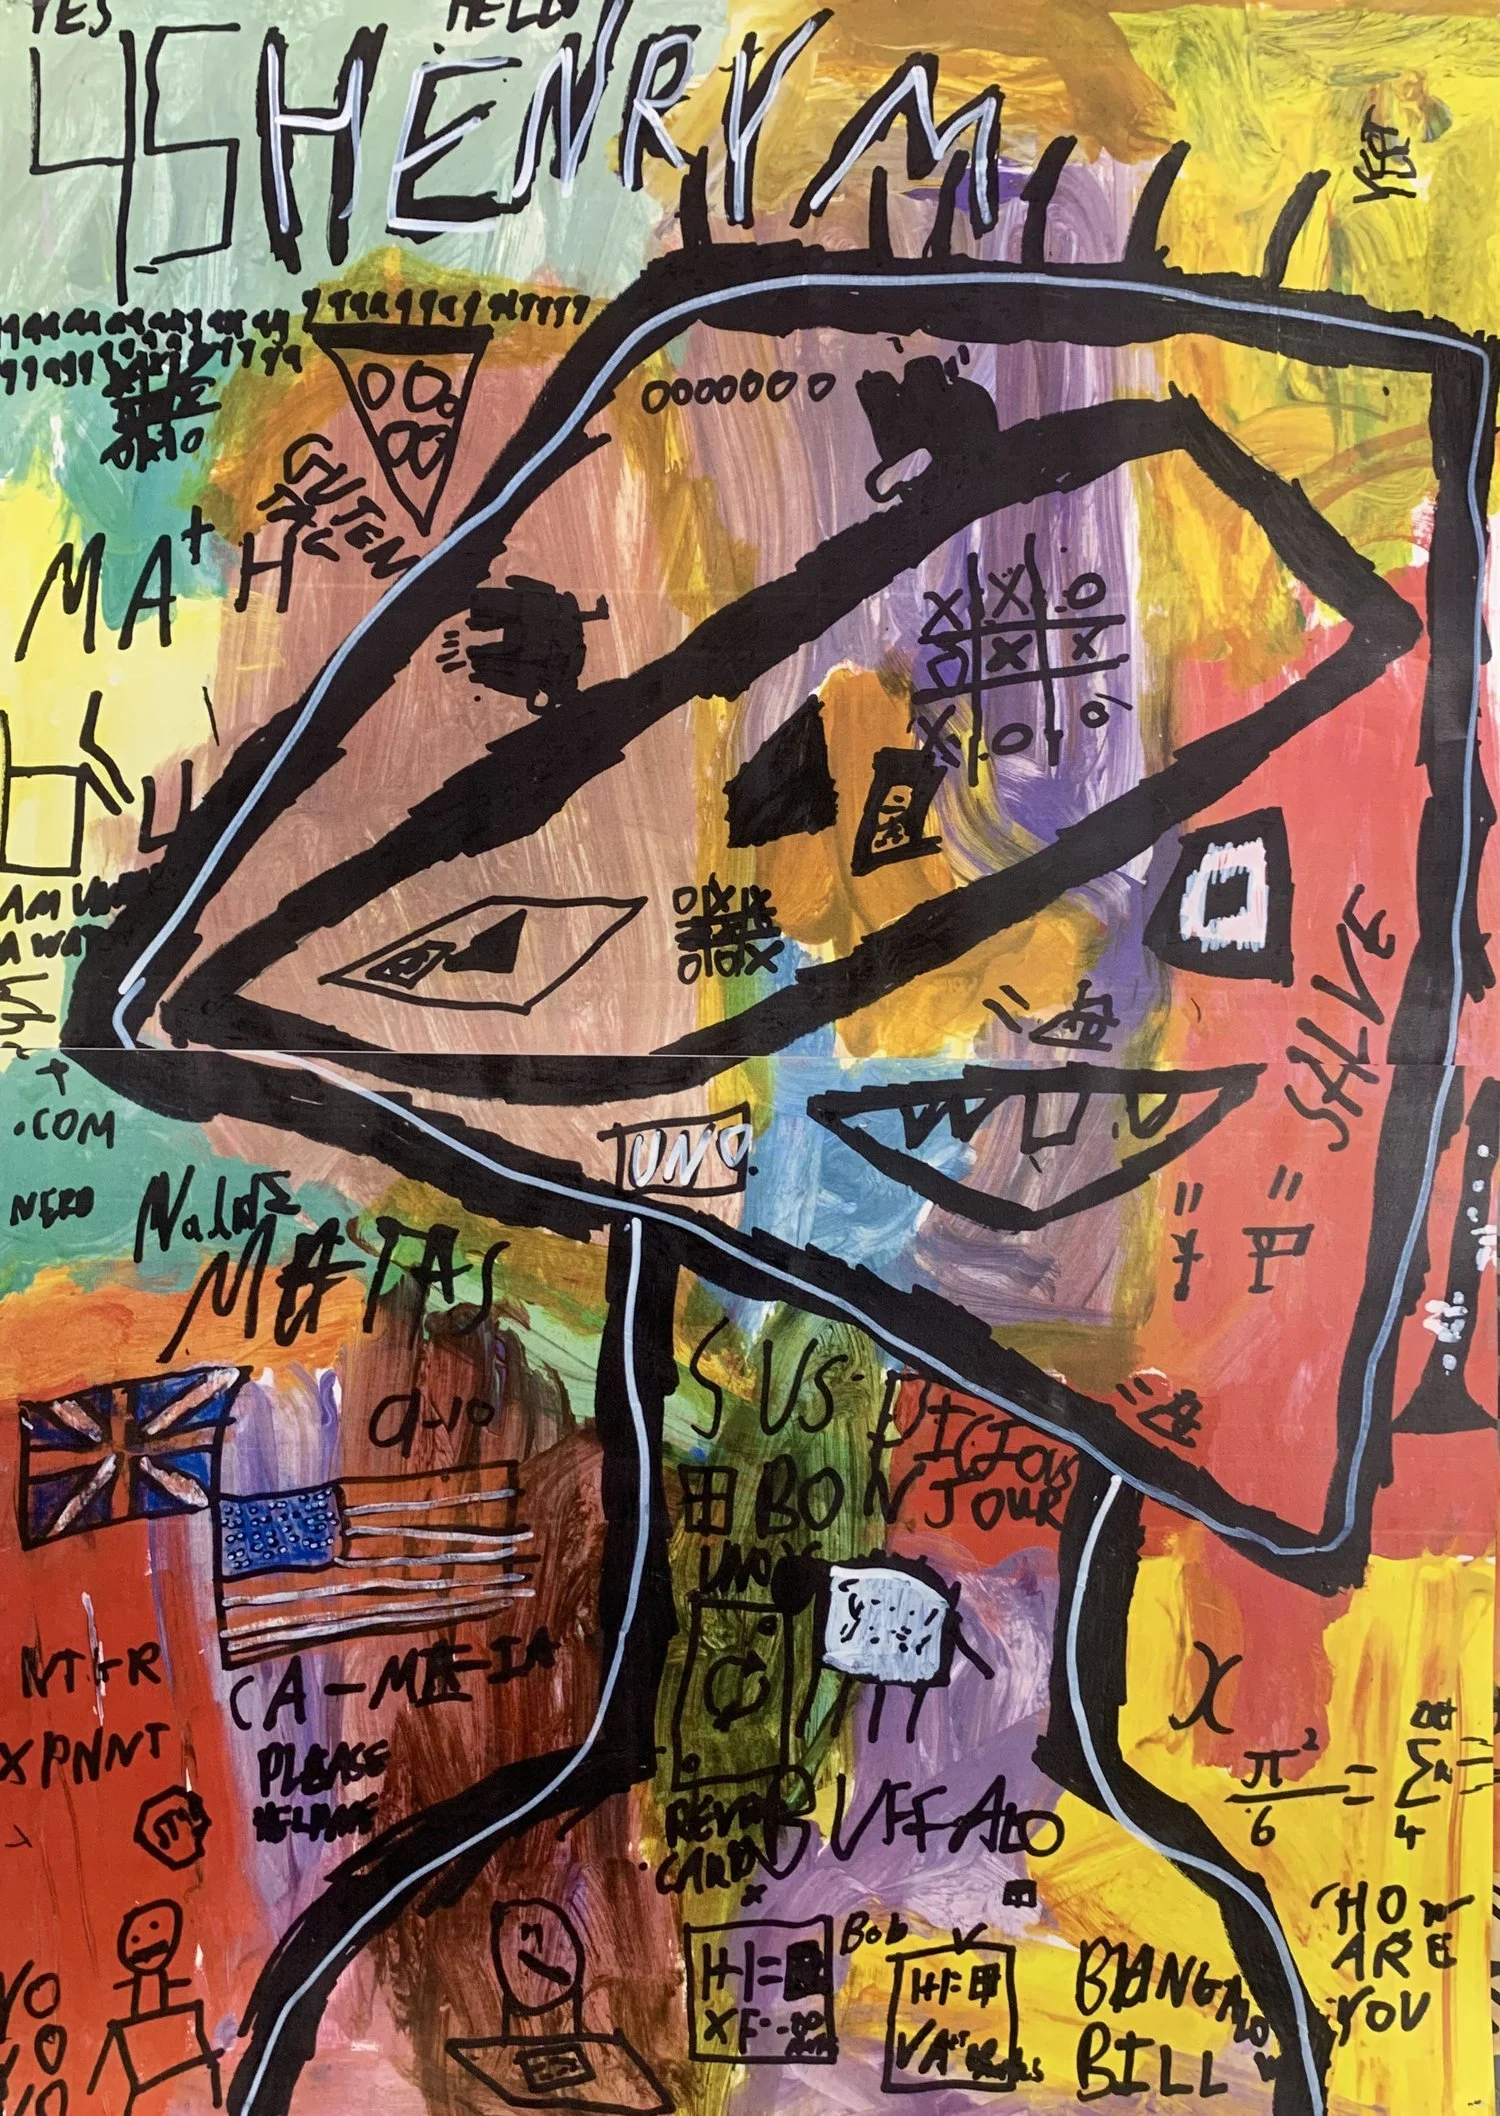
Jean-Michel Basquiat Portraits

5
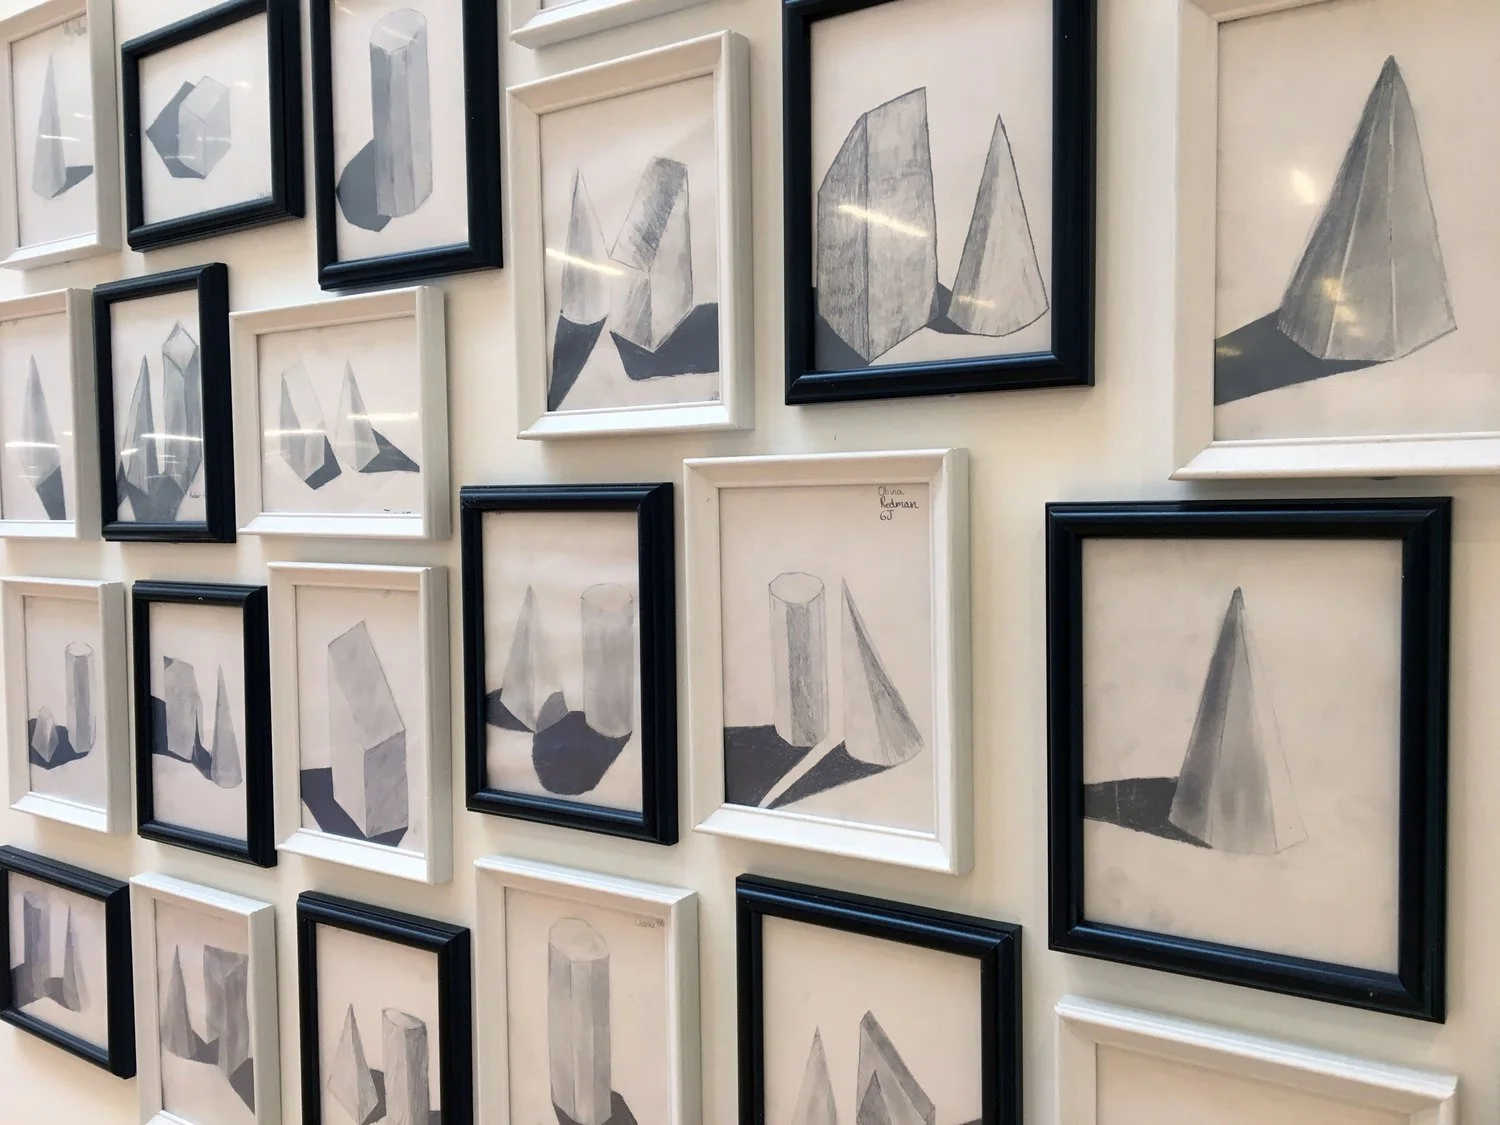
Observational Studies